Where Winds Meet: Blind to the World Lost Chapter Walkthrough
Discover how to start and complete the Blind to the World Lost Chapter in Where Winds Meet, with clear steps, map locations, and the rewards you’ll earn.

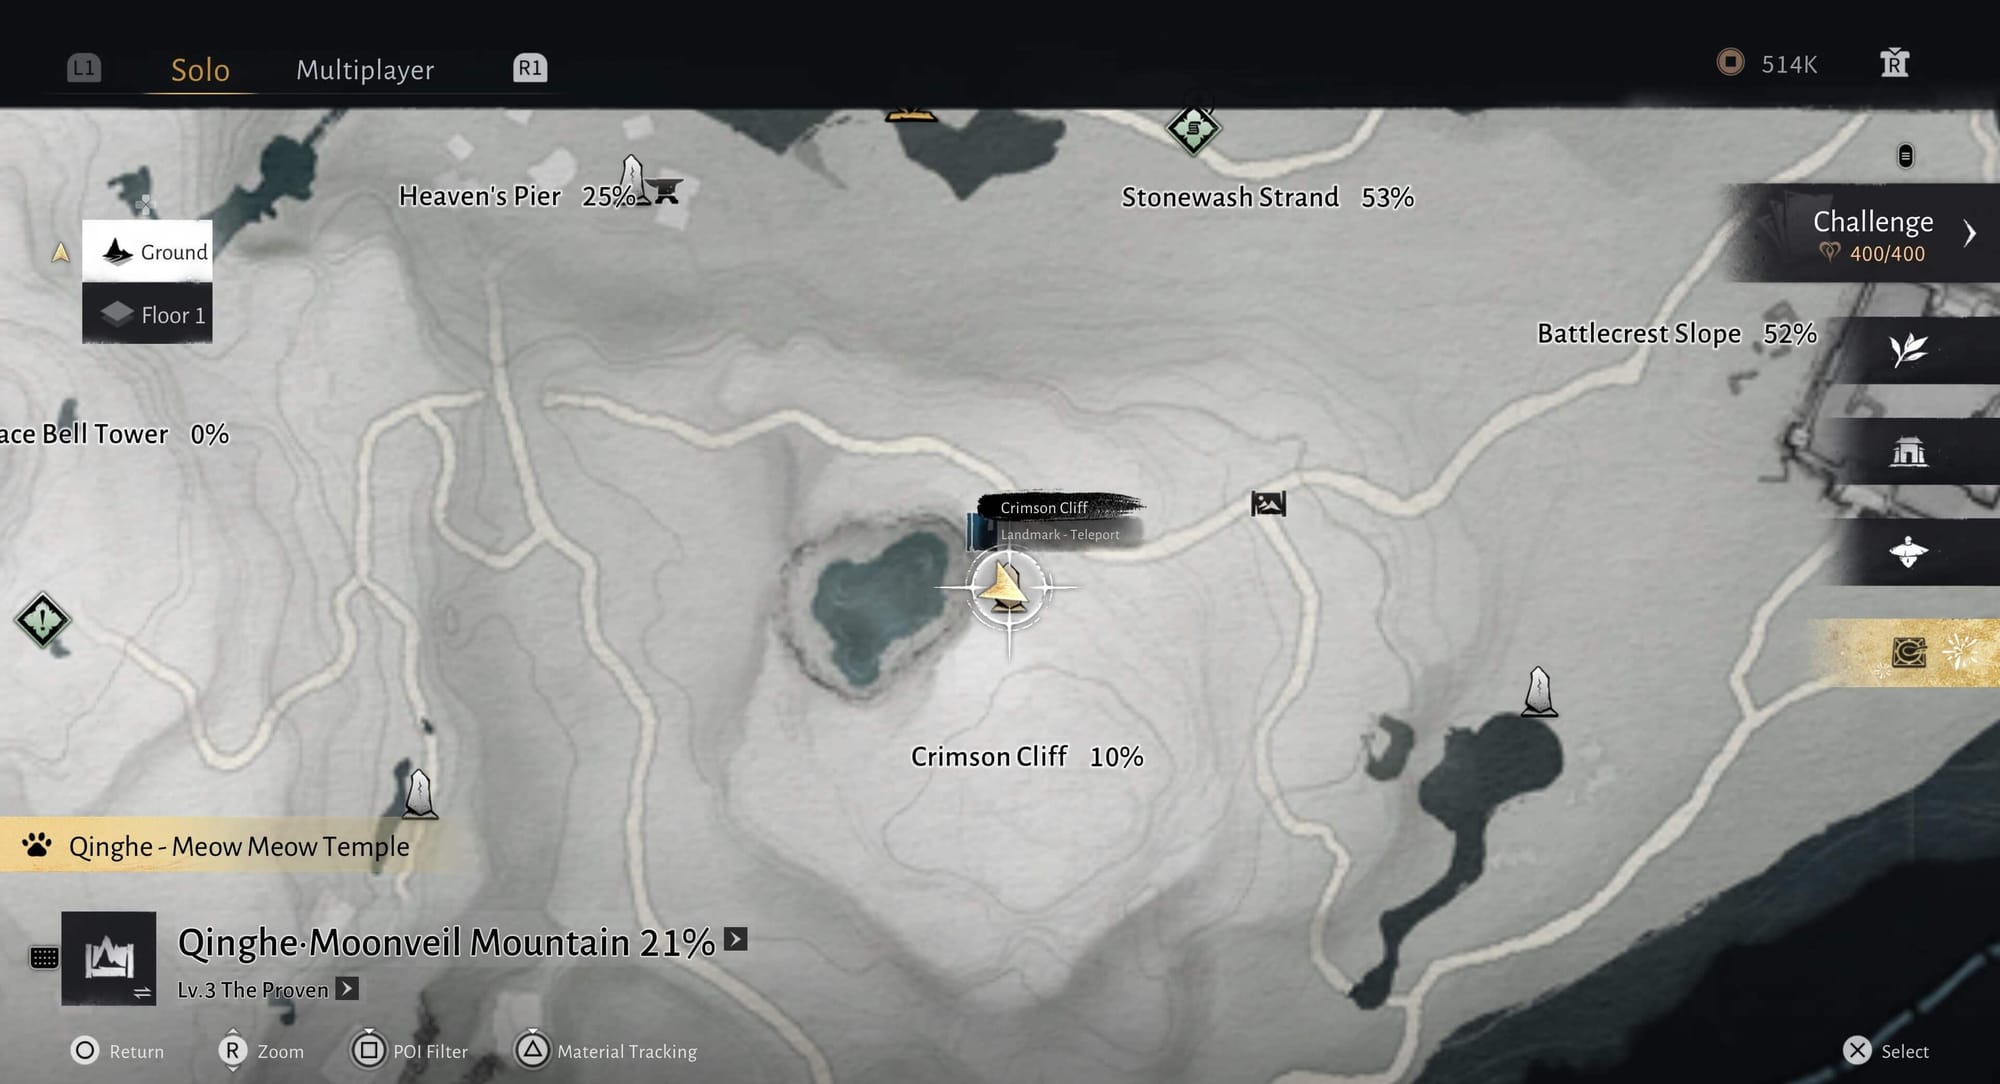
Here is a walkthrough on how to complete the Lost Chapter side quest: Blind to the World in Where Winds Meet. This quest appears on your map with a small blue book icon. To begin, travel to the Crimson Cliff Teleport. The exact map location is pictured below.
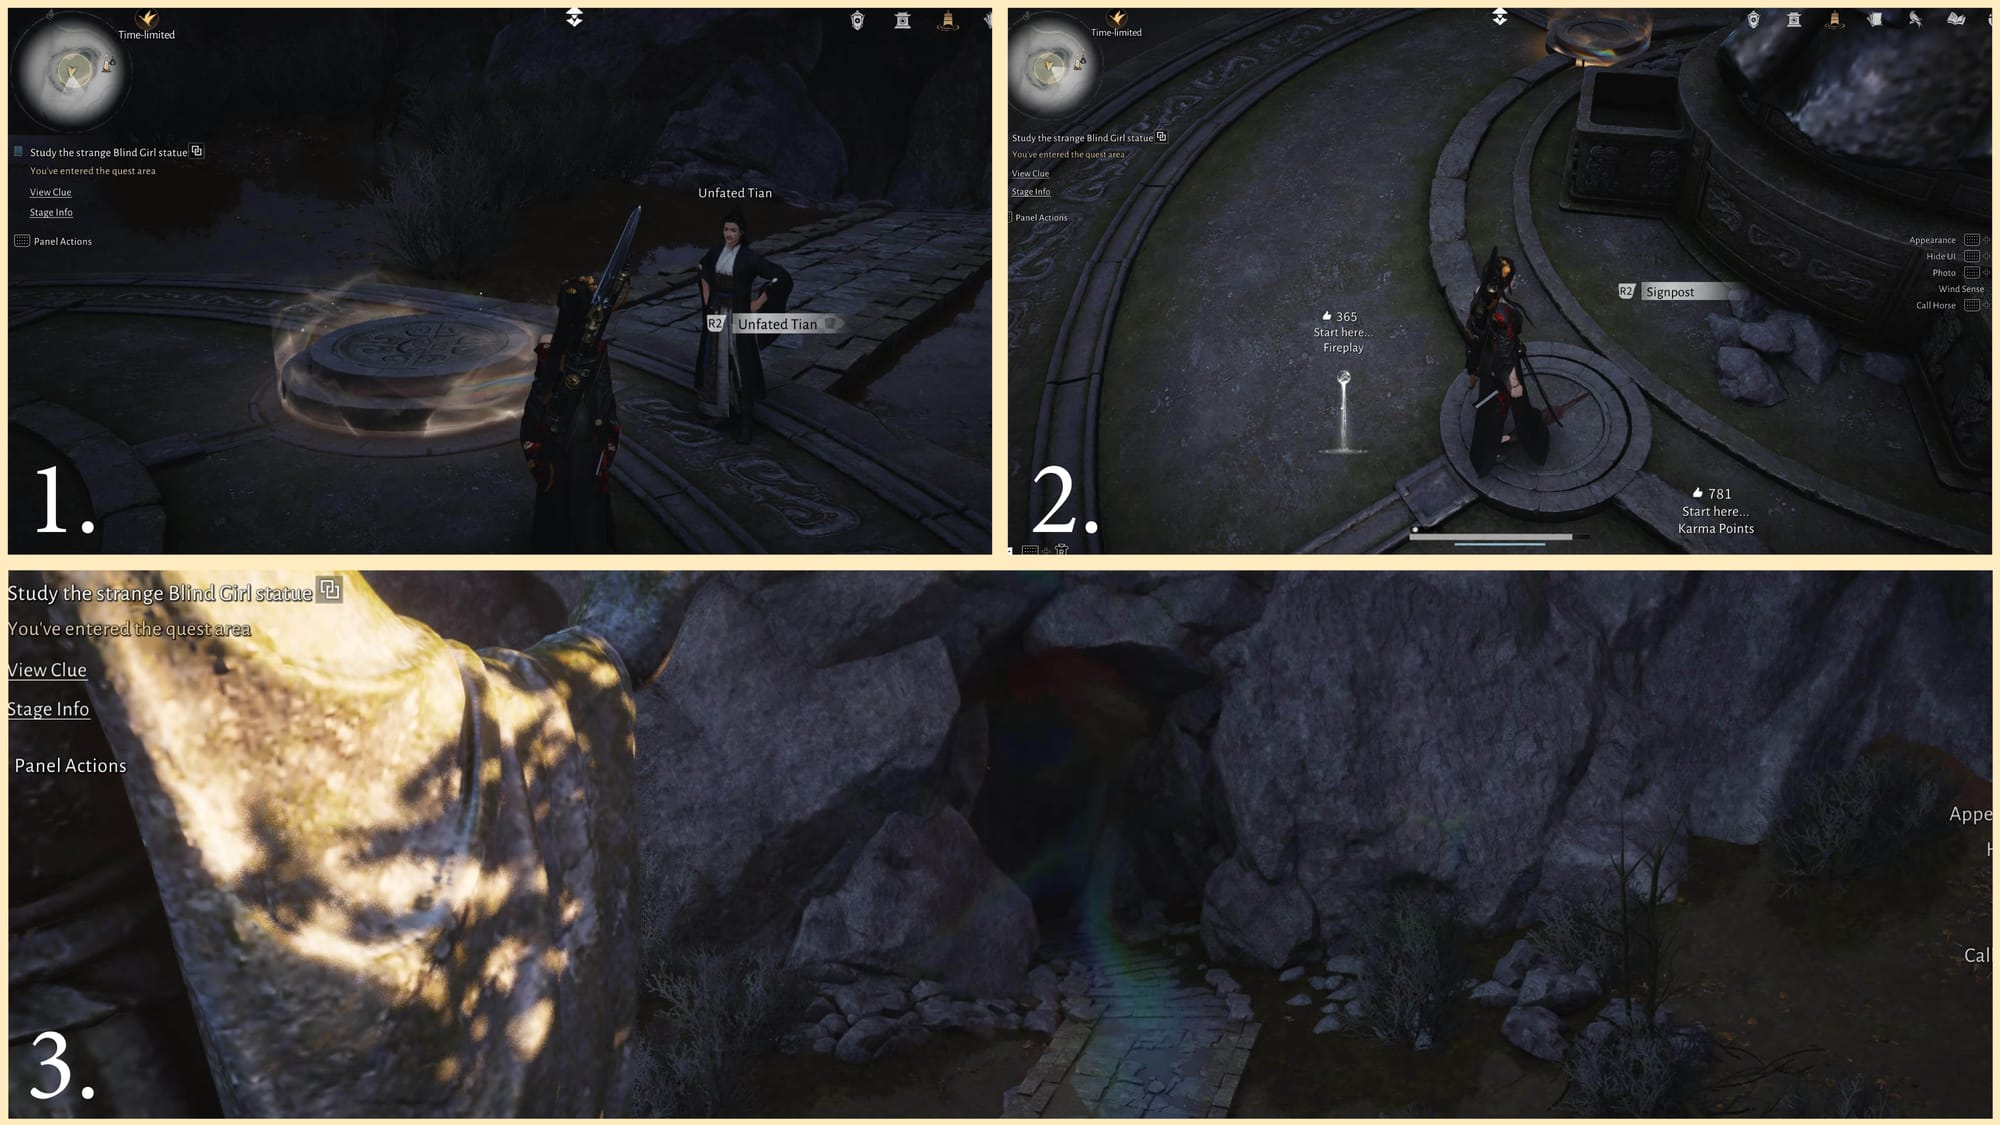
From here, look for a man named Unfated Tian. He’s very close to the teleport point, standing beside a small lake.
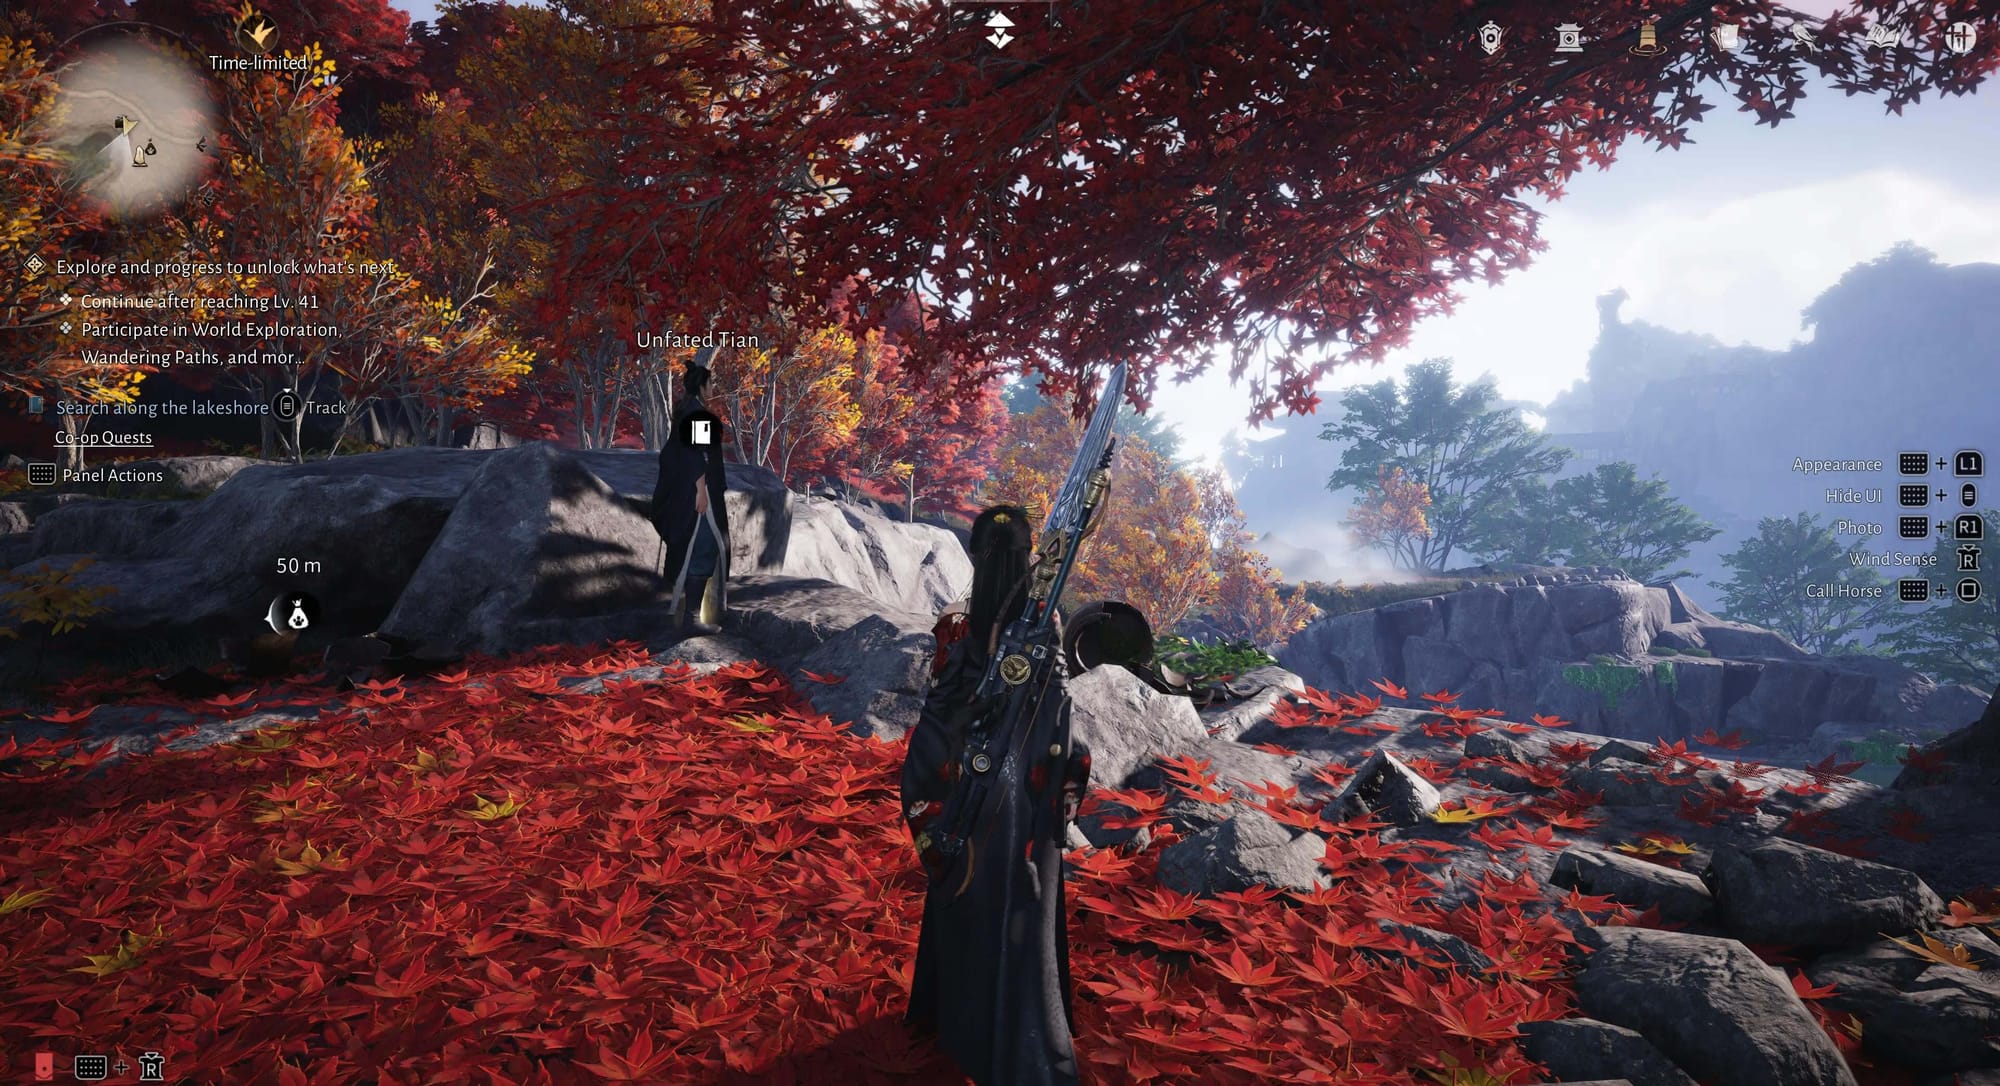
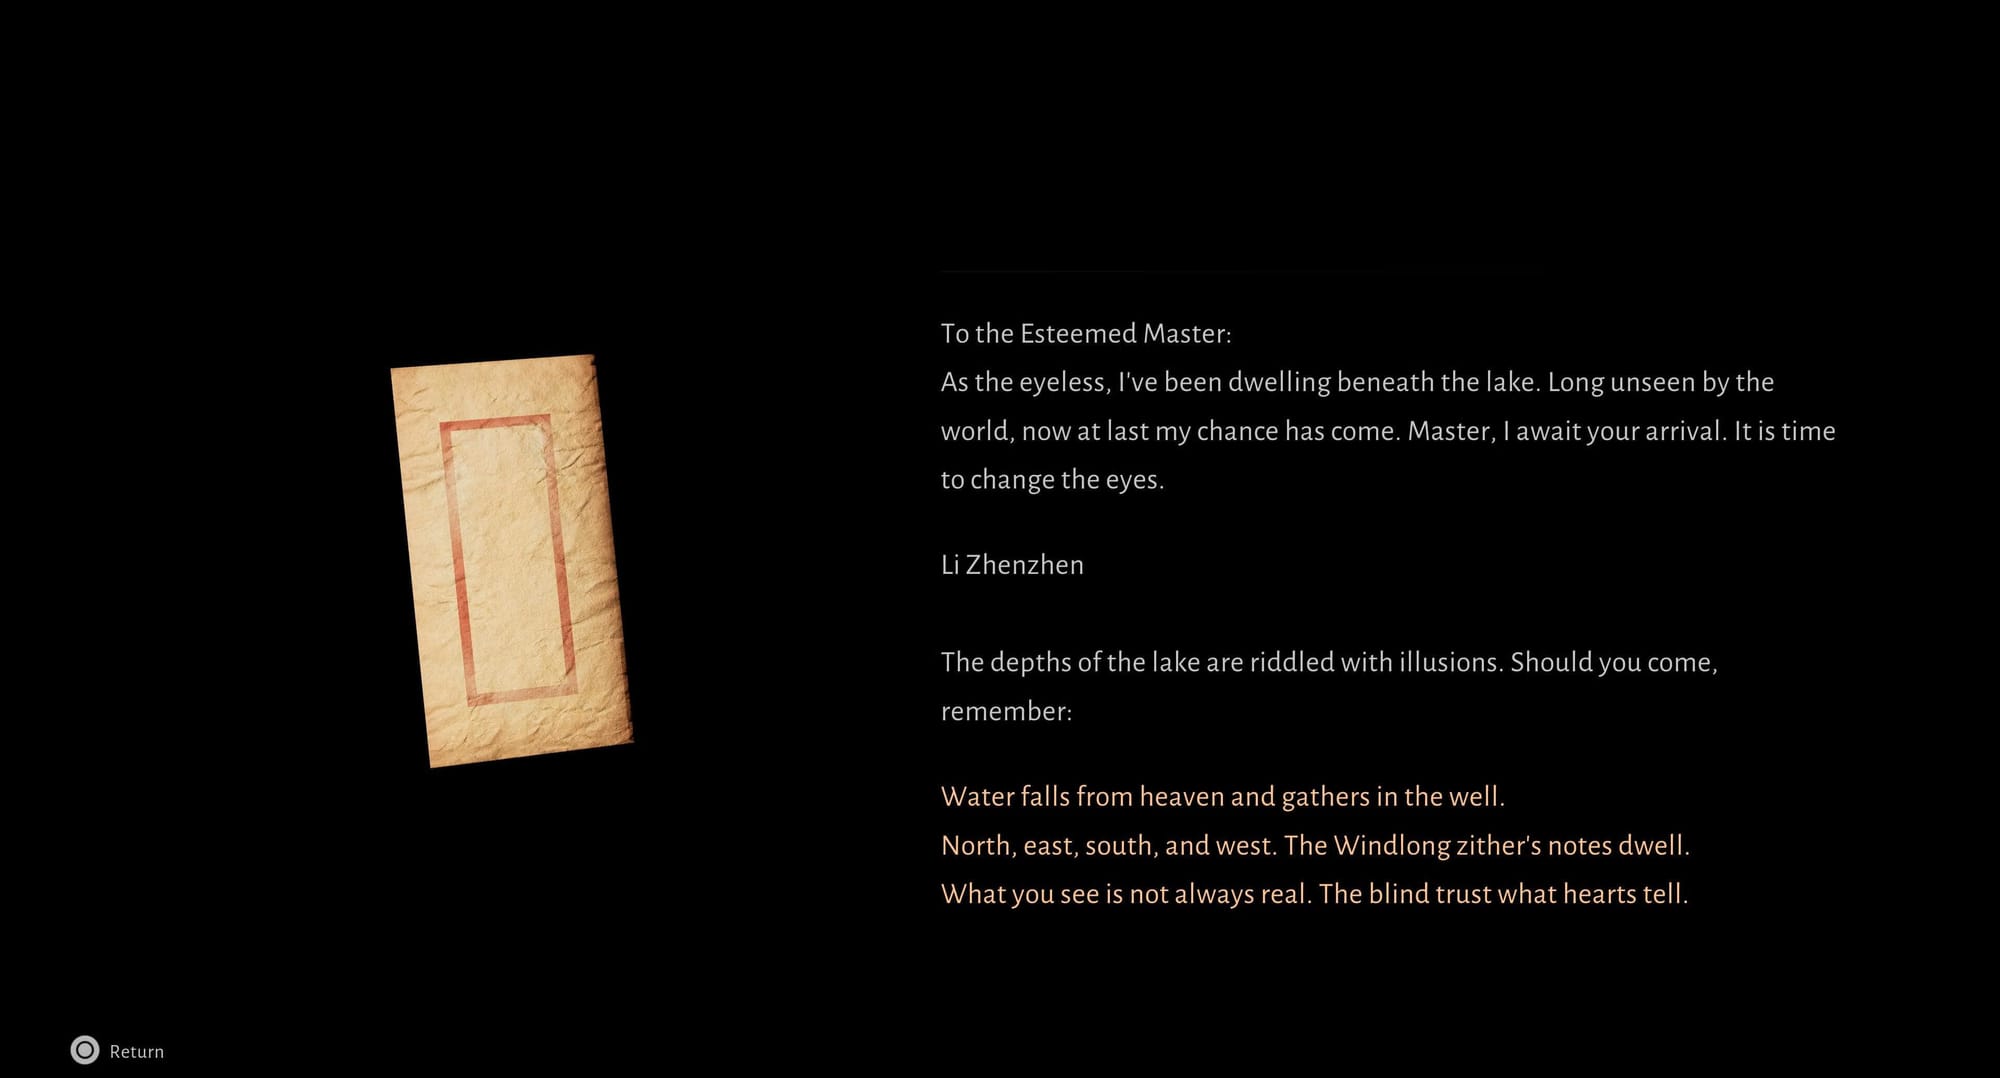
This is the start of the quest. Unfated Tian tells you he received a strange request from someone at the Evercare Clinic and asks for your help looking into it. This leads you to learn that someone is actually living beneath the lake. She has been down there without sight, waiting for the right moment to reveal herself. Tian also mentions that she sent him a note describing the illusions inside the lake and how things are not always what they look like. The short poem in her note hints at the puzzles you will face once you dive in. This sets the tone for a mysterious quest about seeing past illusions, trusting your instincts, and uncovering what is hidden under the water.
From here, jump into the lake beside you and dive down.
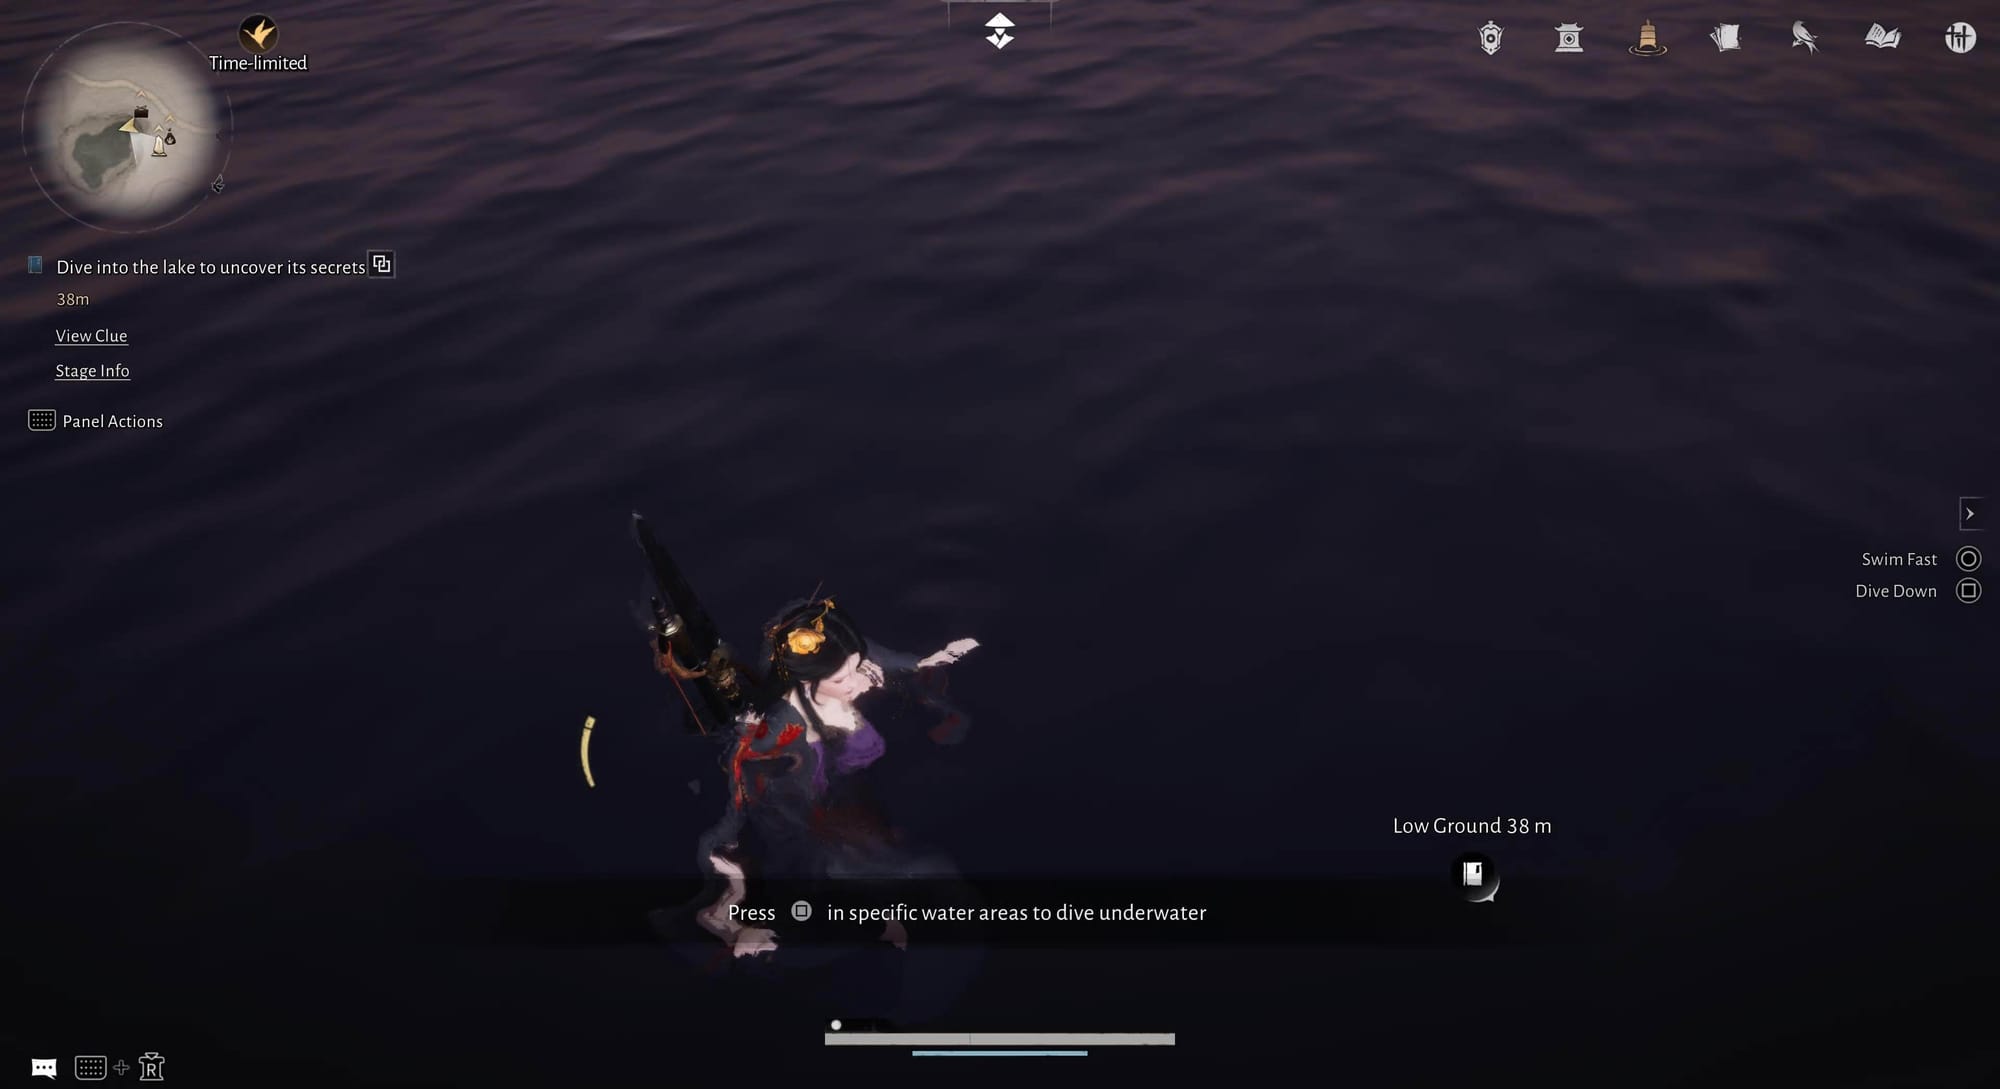
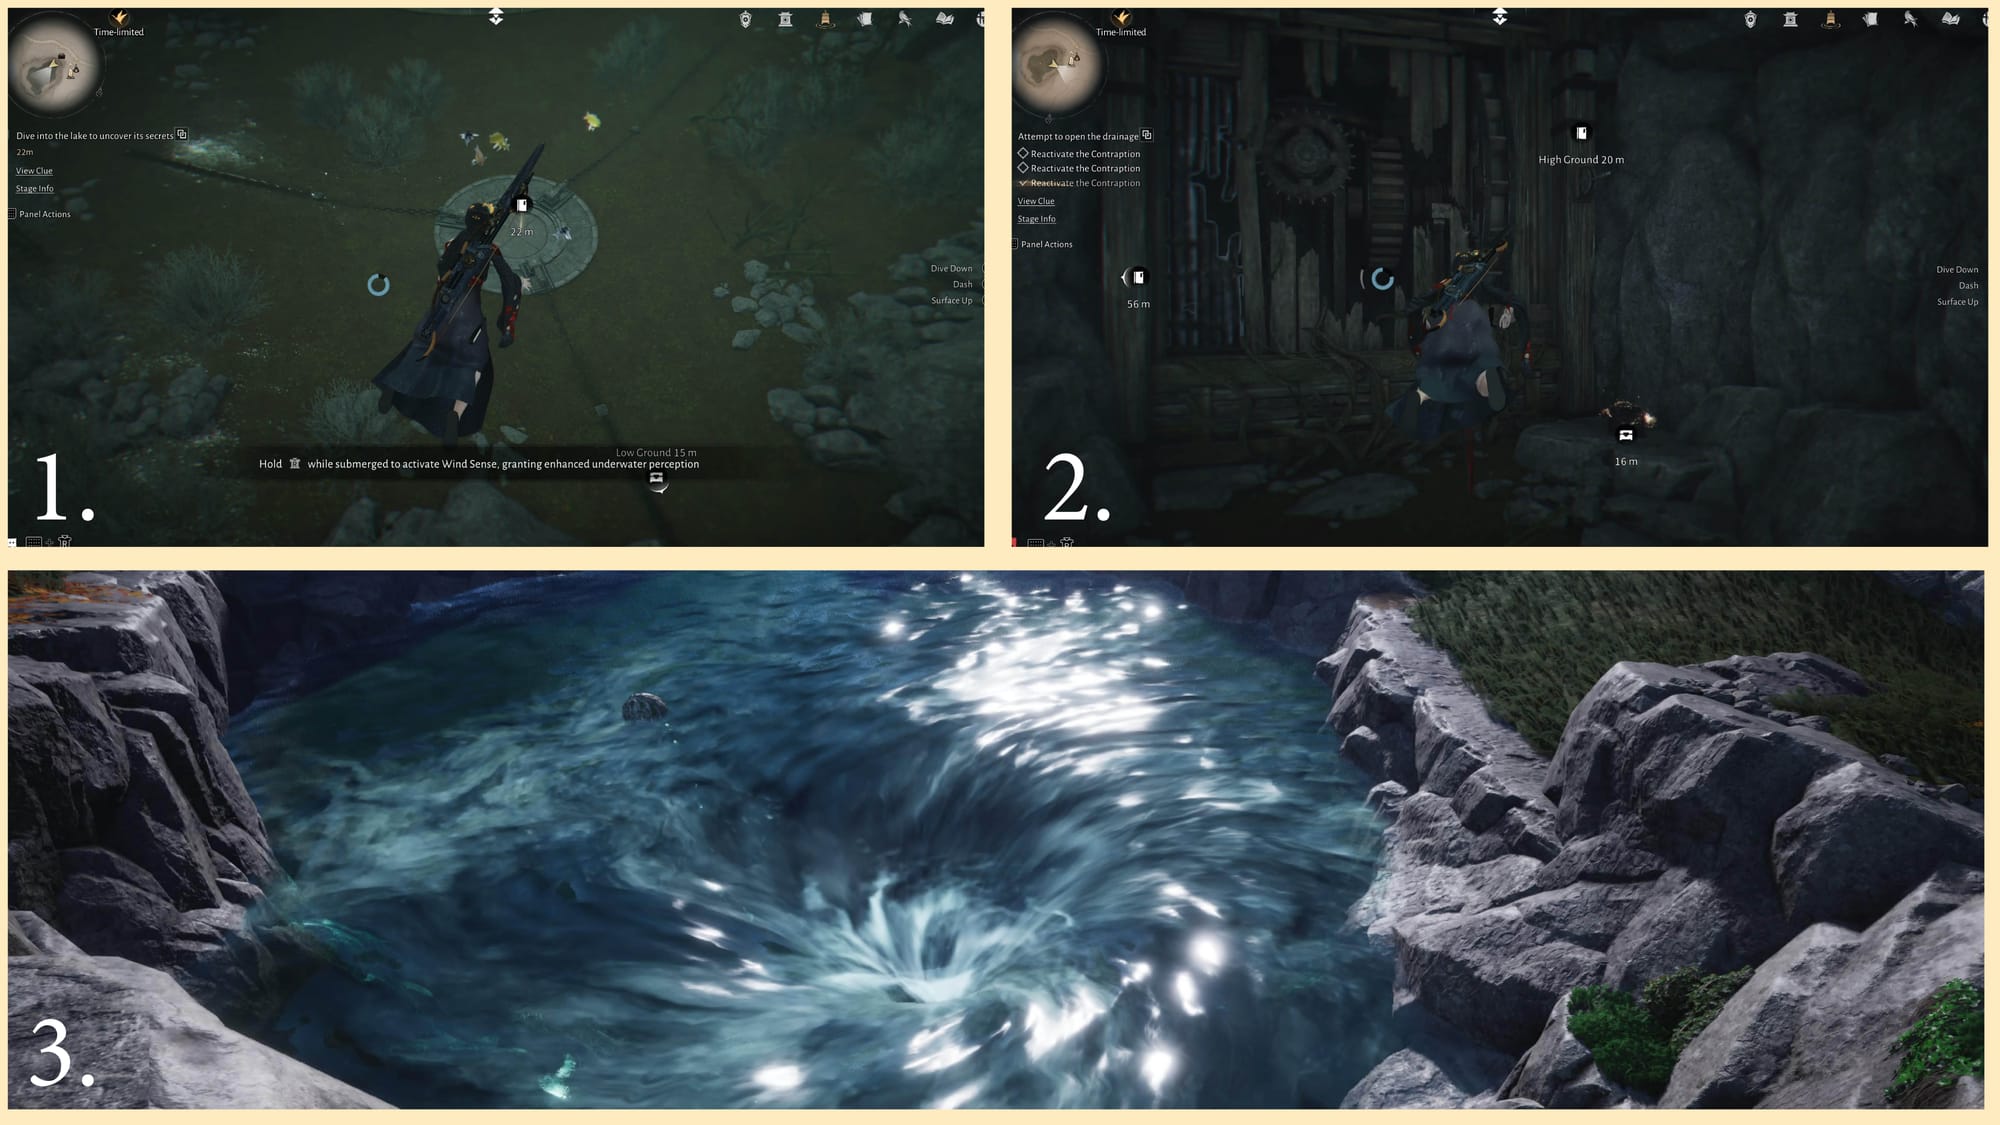
Once you are underwater, swim downward. You will see a platform with three chains jutting out from it. Follow each chain. They will lead you to levers that you need to interact with. Be wary of your oxygen, you will need to swim back up occasionally to take breaths of air. After you activate all three levers, the lake will begin to drain.
Once the lake is drained, the cutscene will place you back outside of it. Jump back down into the now empty lake. Talk to Tian again, and this will start another simple puzzle. Step onto the platform next to Tian. This will light up four smaller platforms around the statue. Go to the one directly behind the statue, where its back is facing you. You will most likely see signposts pointing you to start here. After stepping on that platform, go clockwise and step on the remaining platforms in order. This will unlock the door in front of the statue.
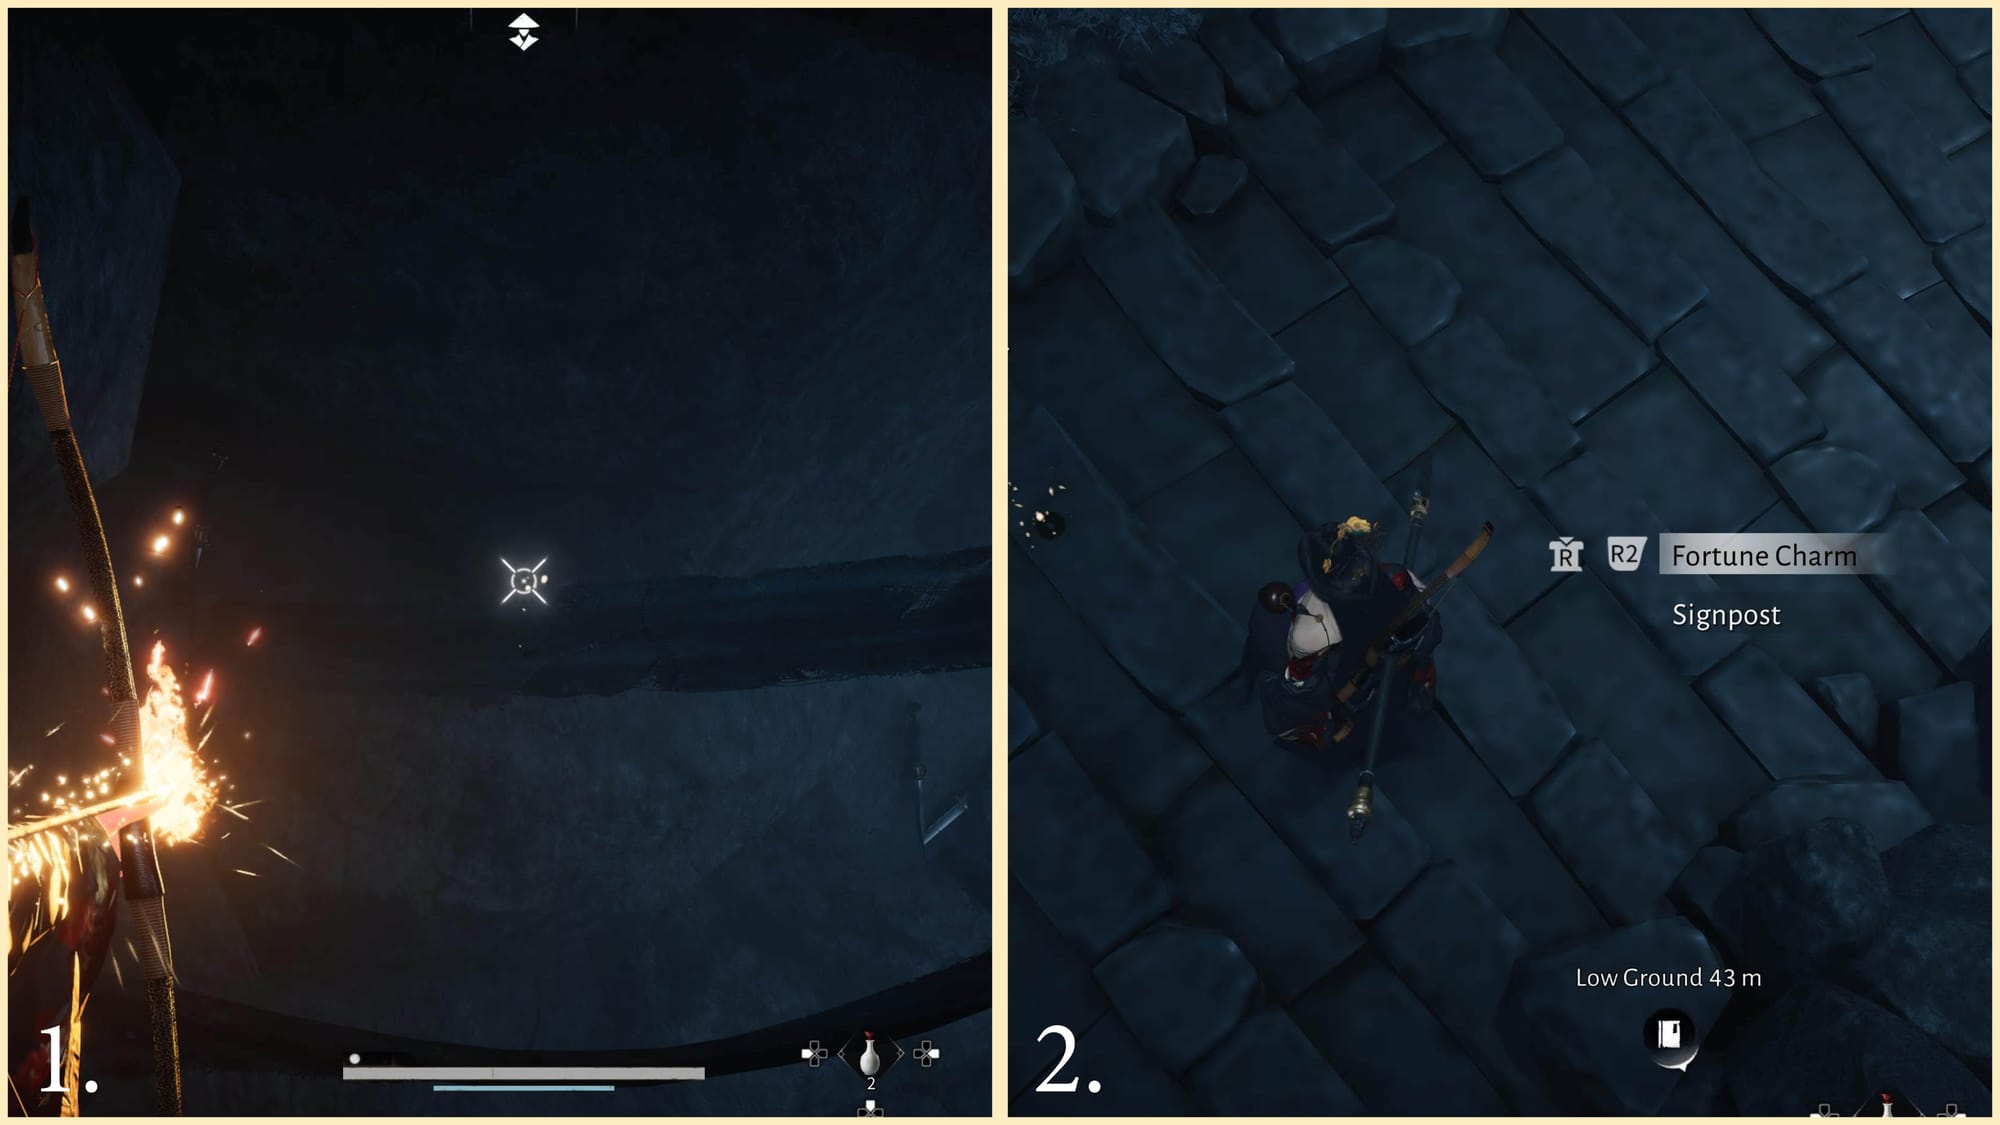
Once you step inside, head down the stairs. Look up, and you will see something shiny tucked into the cloth above you. Shoot it down to receive a Fortune Charm. Make sure to pick it up after it falls, because it does not go straight into your inventory. Continue down the stairs carefully. There are several rounds of fire arrow traps, and they can hurt you or even kill you. They hit me pretty hard several times lol.
Once you reach the bottom of the stairs, look to your right. You will see an opening in the rock filled with water. Go inside the opening and submerge yourself. Follow the underwater path and it will eventually lead you to another section. While you are moving through the underwater section, make sure to come up for oxygen when you need it. There are air pockets along the way that you can use.
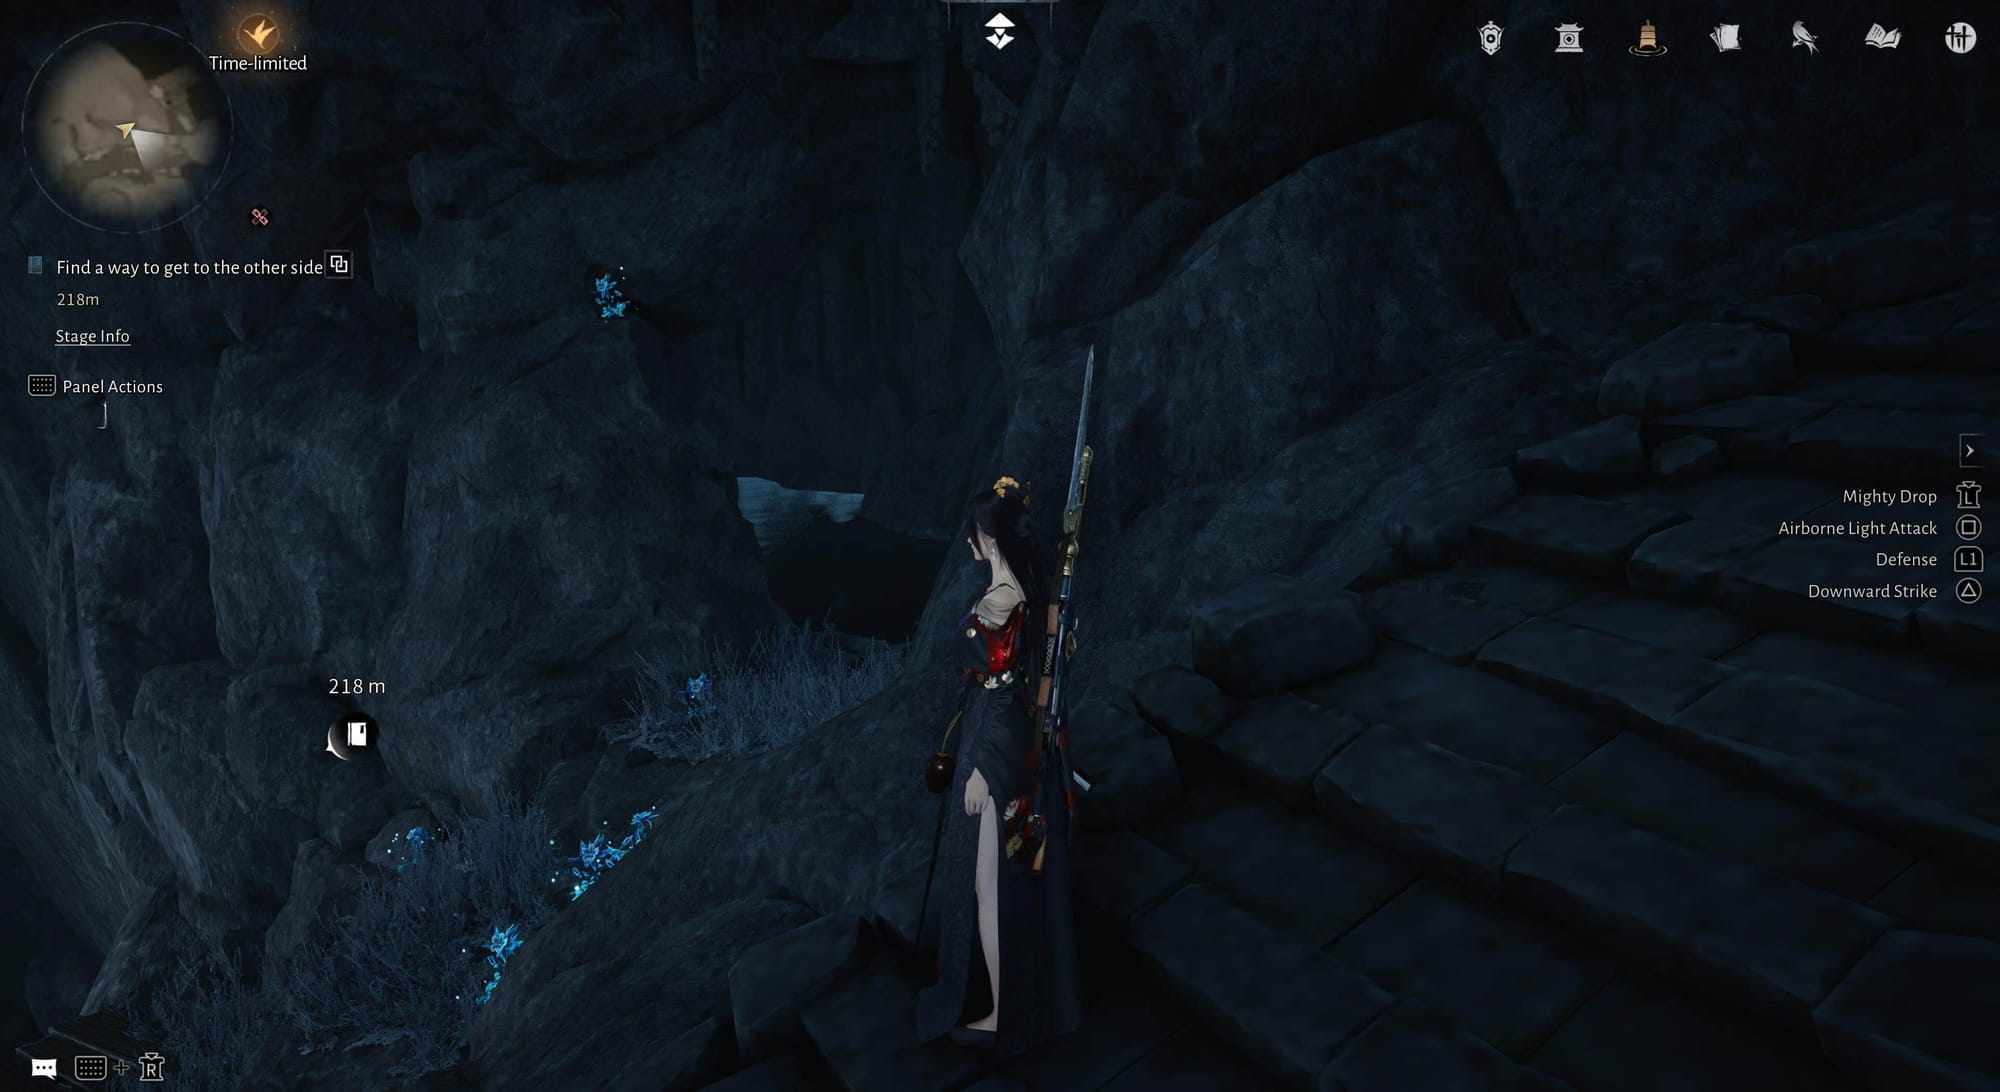
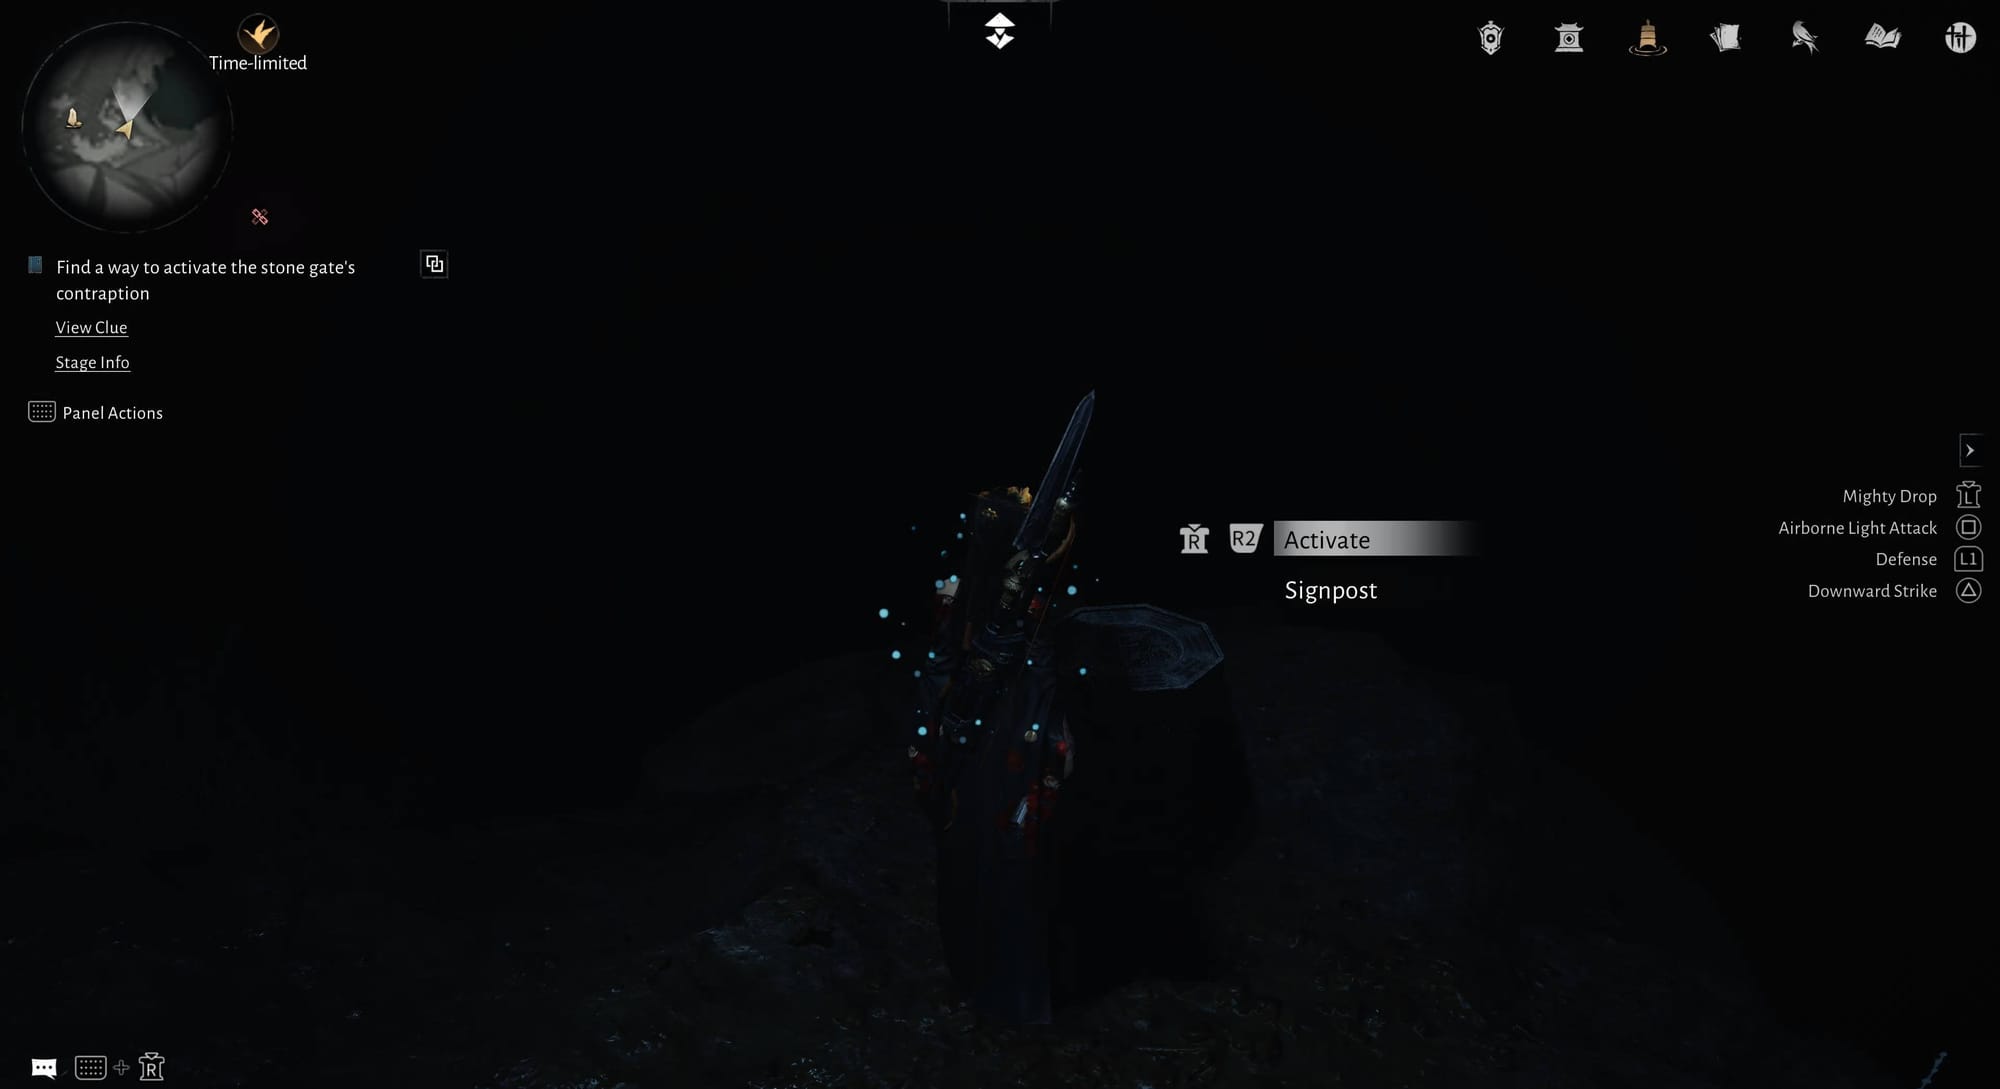
Once you arrive at your destination, you will see a large locked door in front of you. You will need to solve a puzzle to unlock it. Look behind you and head up the stairs. You will see a contraption. Before you interact with it, you will notice blue flowers scattered around the area. Walk over one of those flowers first.

The room will immediately go dark. Quickly interact with the contraption. This will show you the correct pattern for striking the bells that are directly in front of you on the wall. The correct pattern will only appear if you stepped on one of the blue flowers and interacted with the contraption within the required time.
You will need to shoot the orange stone buttons above the bells in the same pattern that was shown. Below is the order you should follow when shooting them.
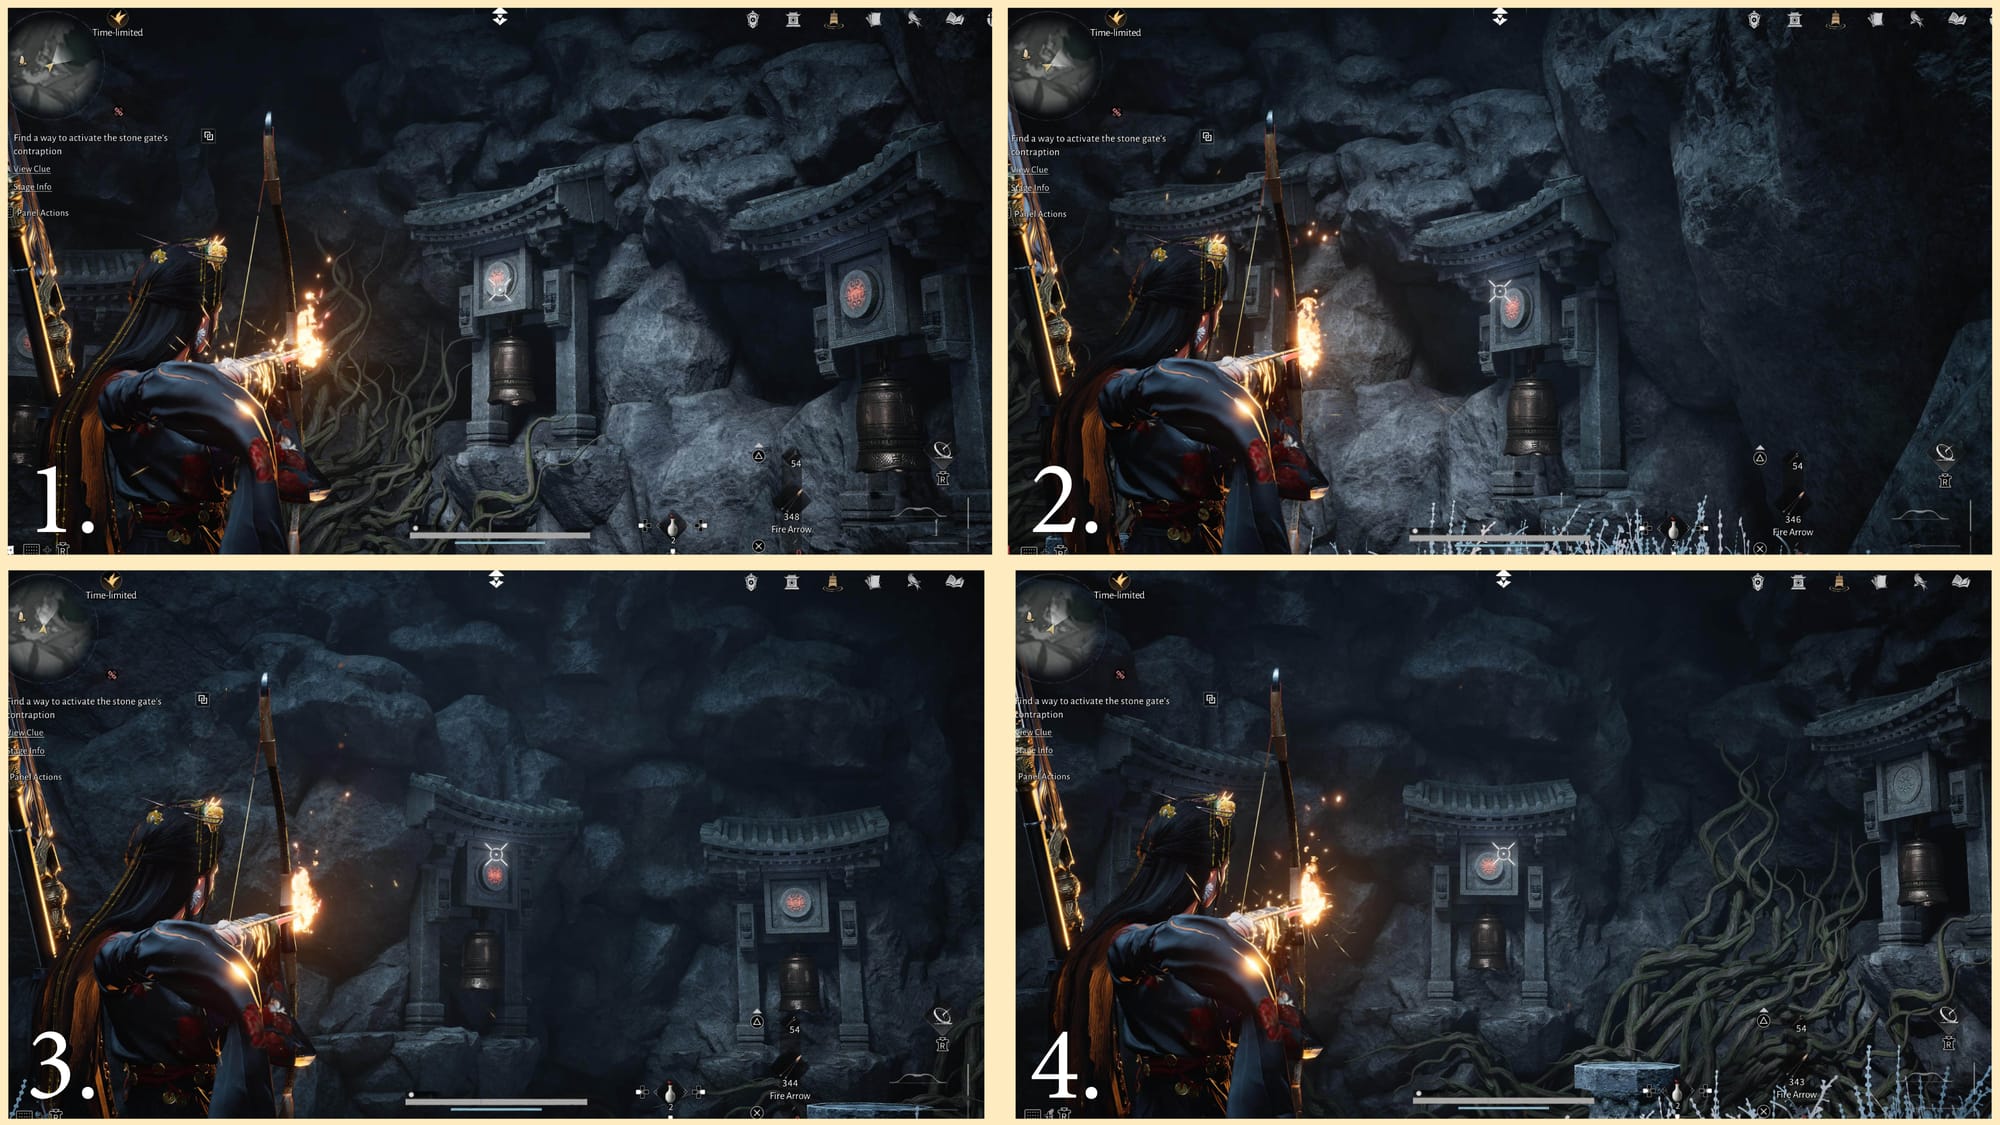
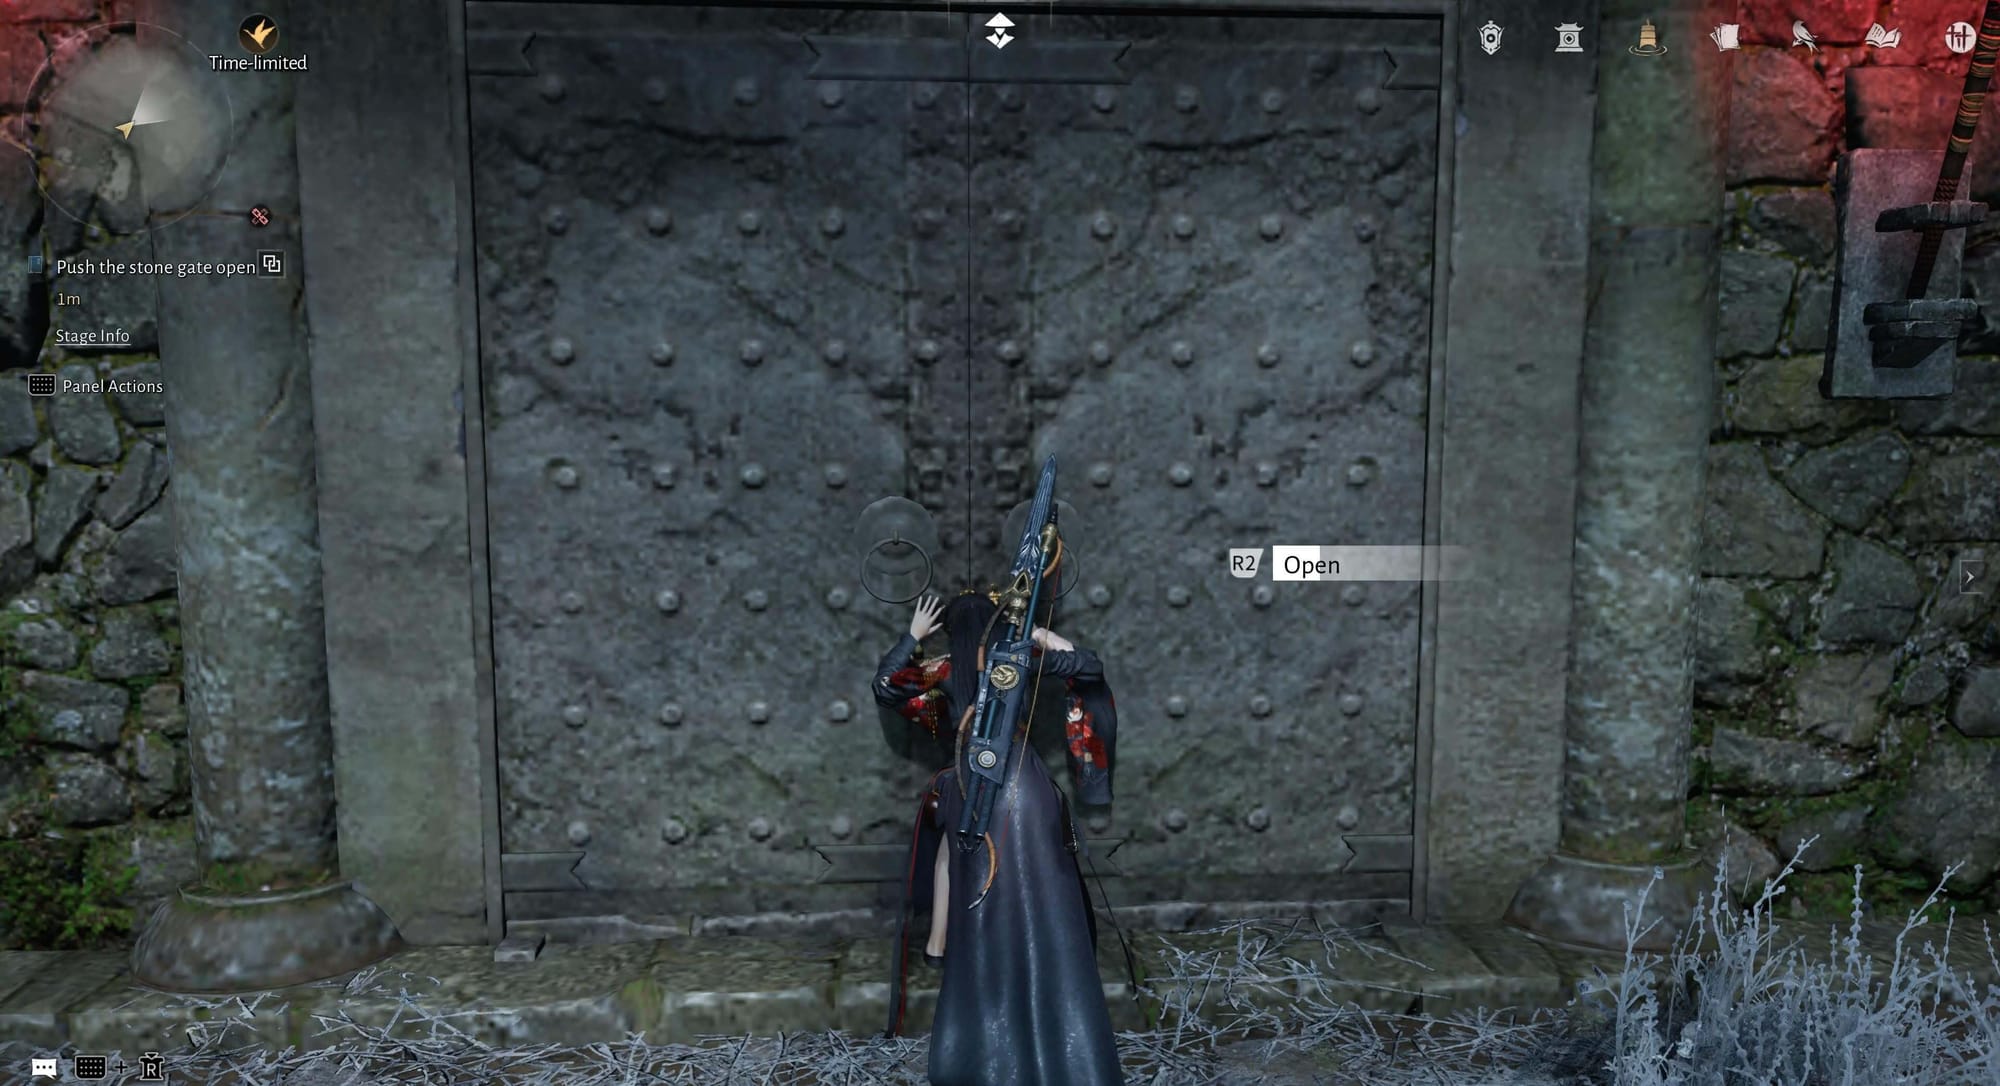
When you shoot them in the correct order, the stone door you found earlier will unlock. Go back to that door and push it open.
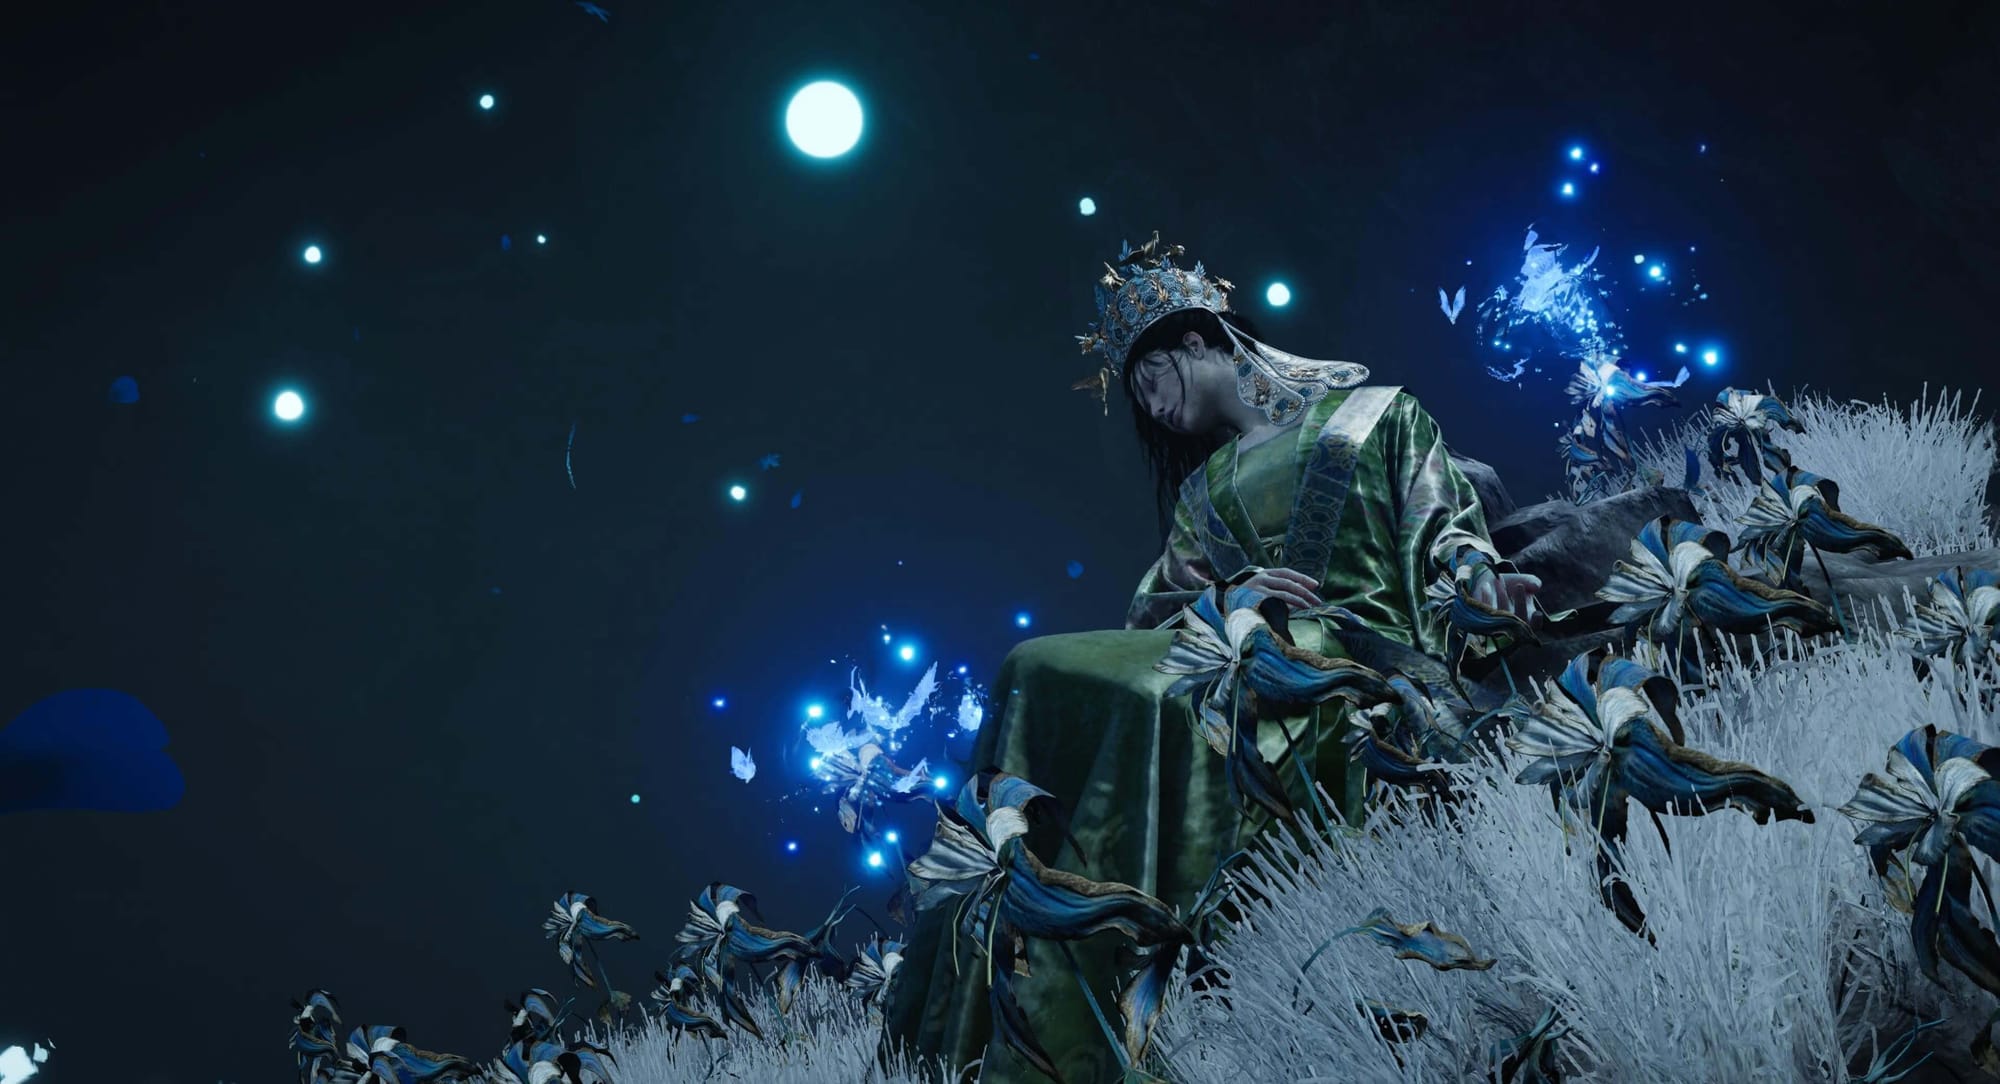
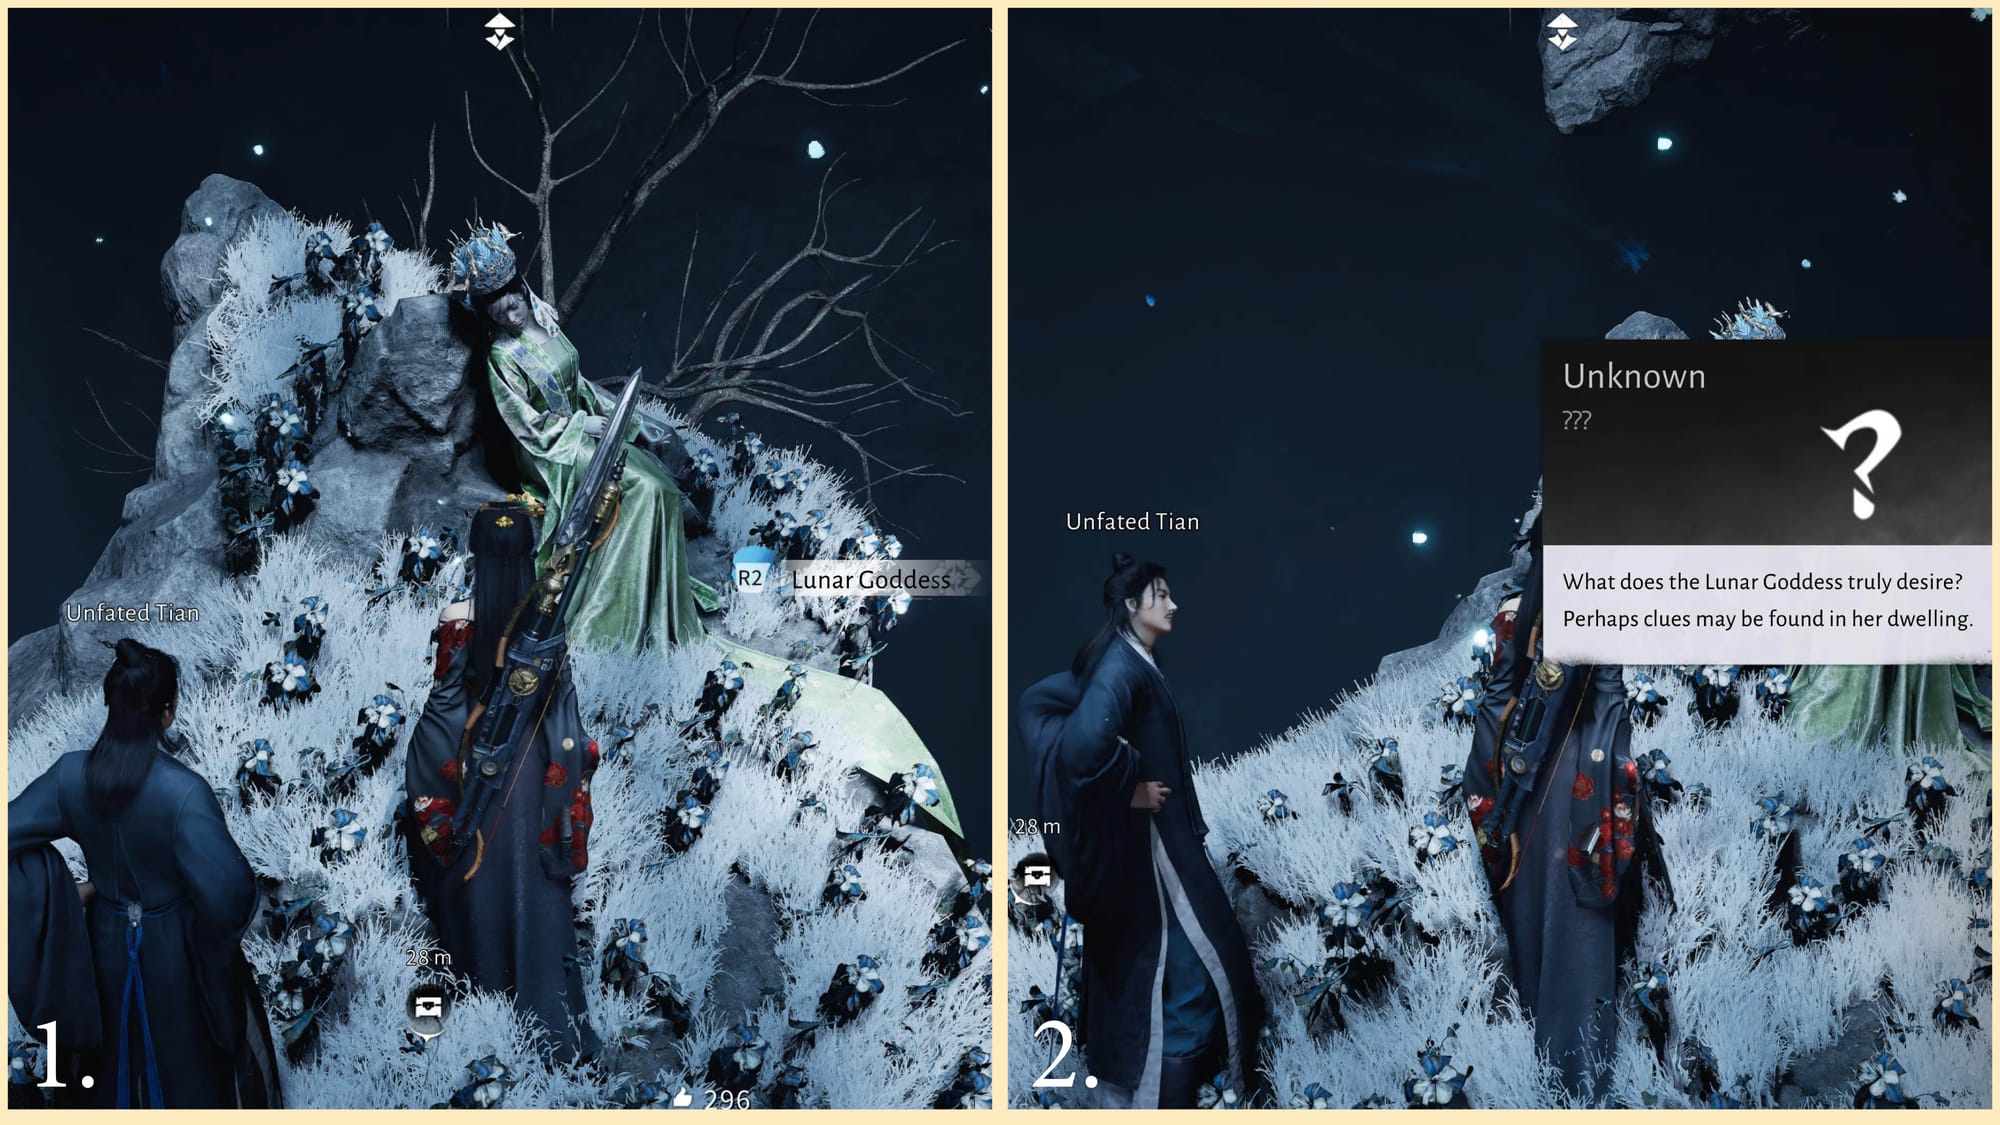
Once you go through the door, you will see the Lunar Goddess sitting on top of a pile of rocks. She has unfortunately met her demise. When you interact with her, the game will tell you that you need to find what the Lunar Goddess truly desires. It also mentions that you may find clues in her dwelling.
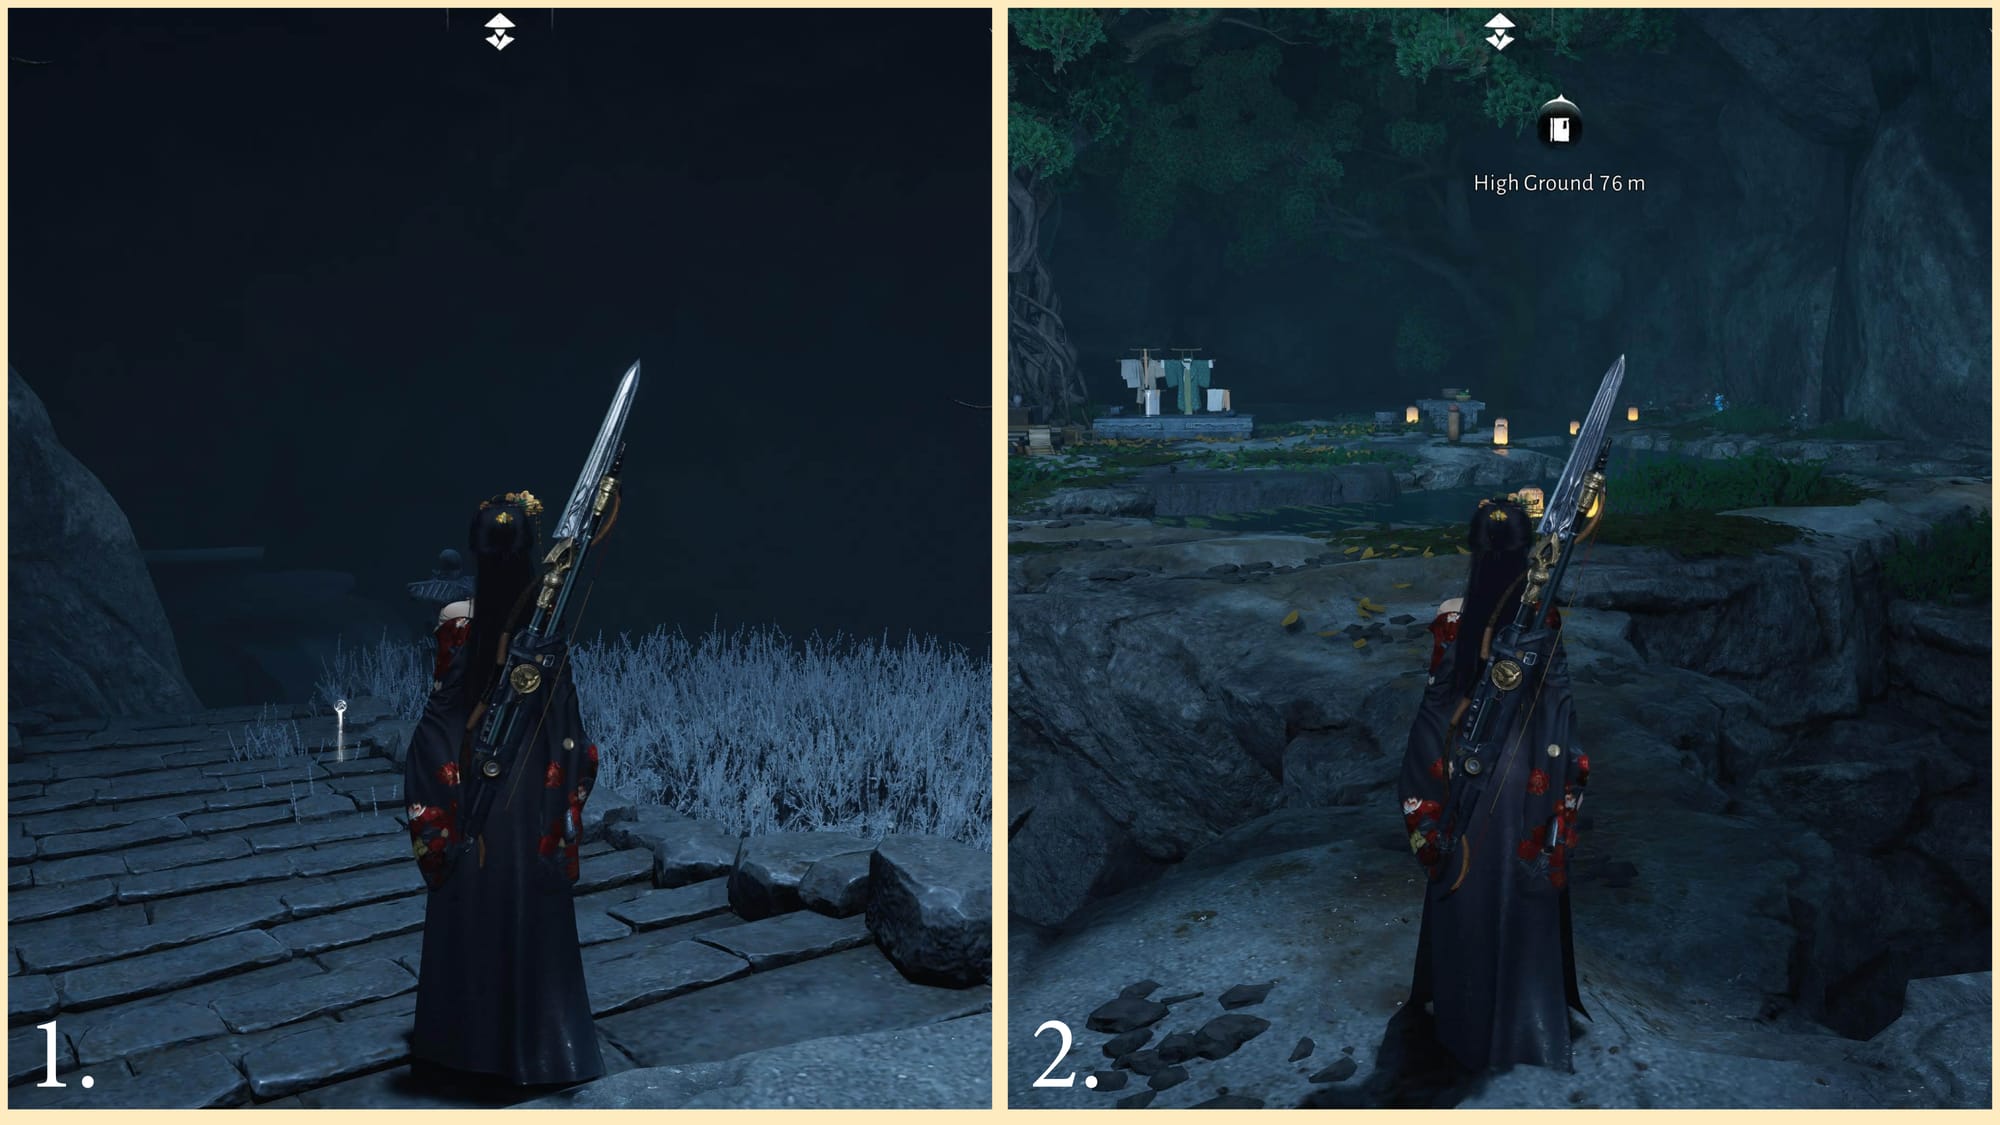
Turn around and you will find a flight of steps leading downward. Follow those stairs and they will take you to the Lunar Goddess's dwelling.
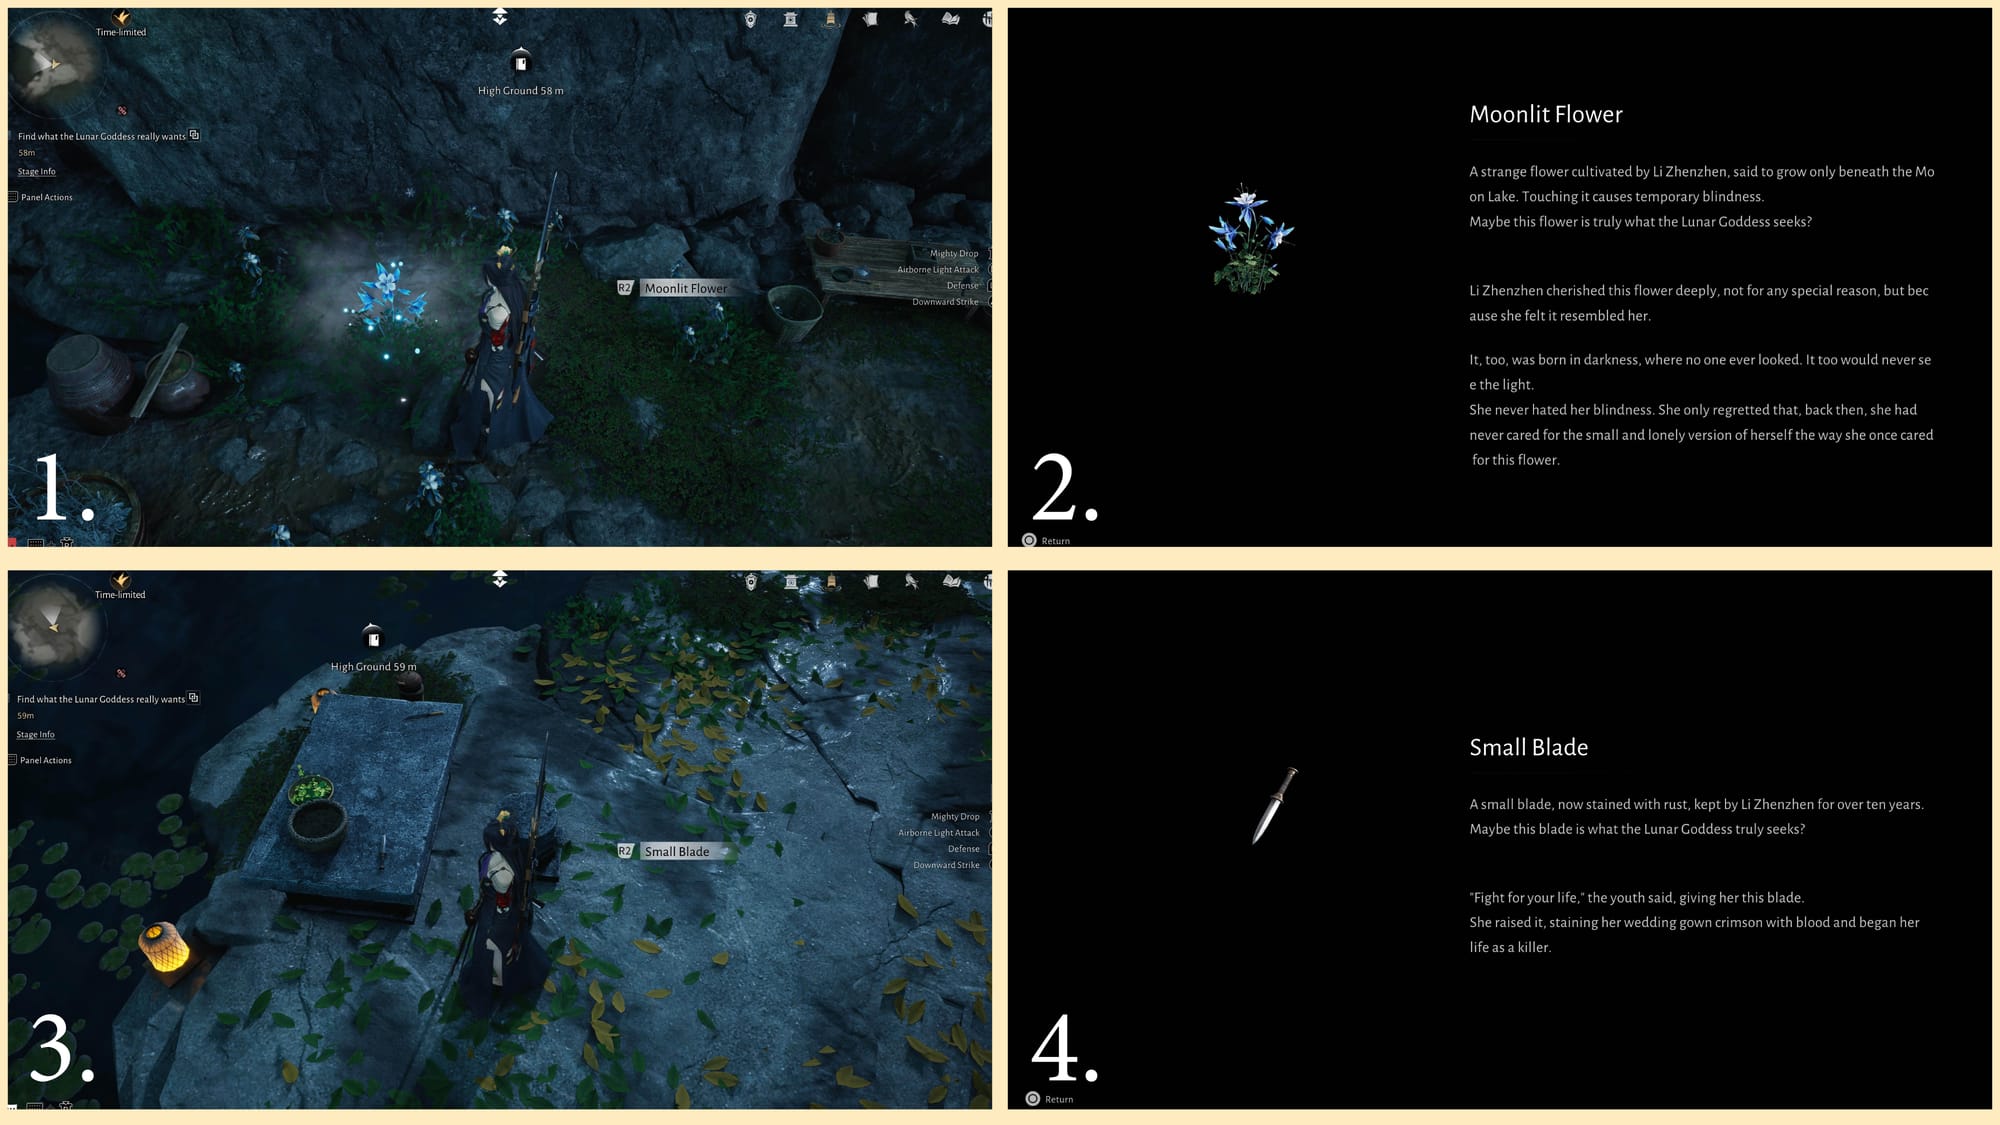
Start searching around her dwelling. There are several items you can interact with. The two important ones are the Moonlit Flower and the Small Blade. You will need these items to offer to the Lunar Goddess. Side note, you may only need the Moonlit Flower to proceed. I picked up both since the quest showed two item slots, but when I submitted the blade, it turned out it was not the item the Lunar Goddess truly desired. I still recommend grabbing both just in case you end up needing them to complete the quest.
Once you have these items, head back up to the Lunar Goddess. Interact with her again and select the Fulfill an Old Wish option. This will then give you the choice to offer an item. When I gave her the blade, it said it was not what she desired. I then gave her the Moonlit Flower, and that ended up being the correct item.
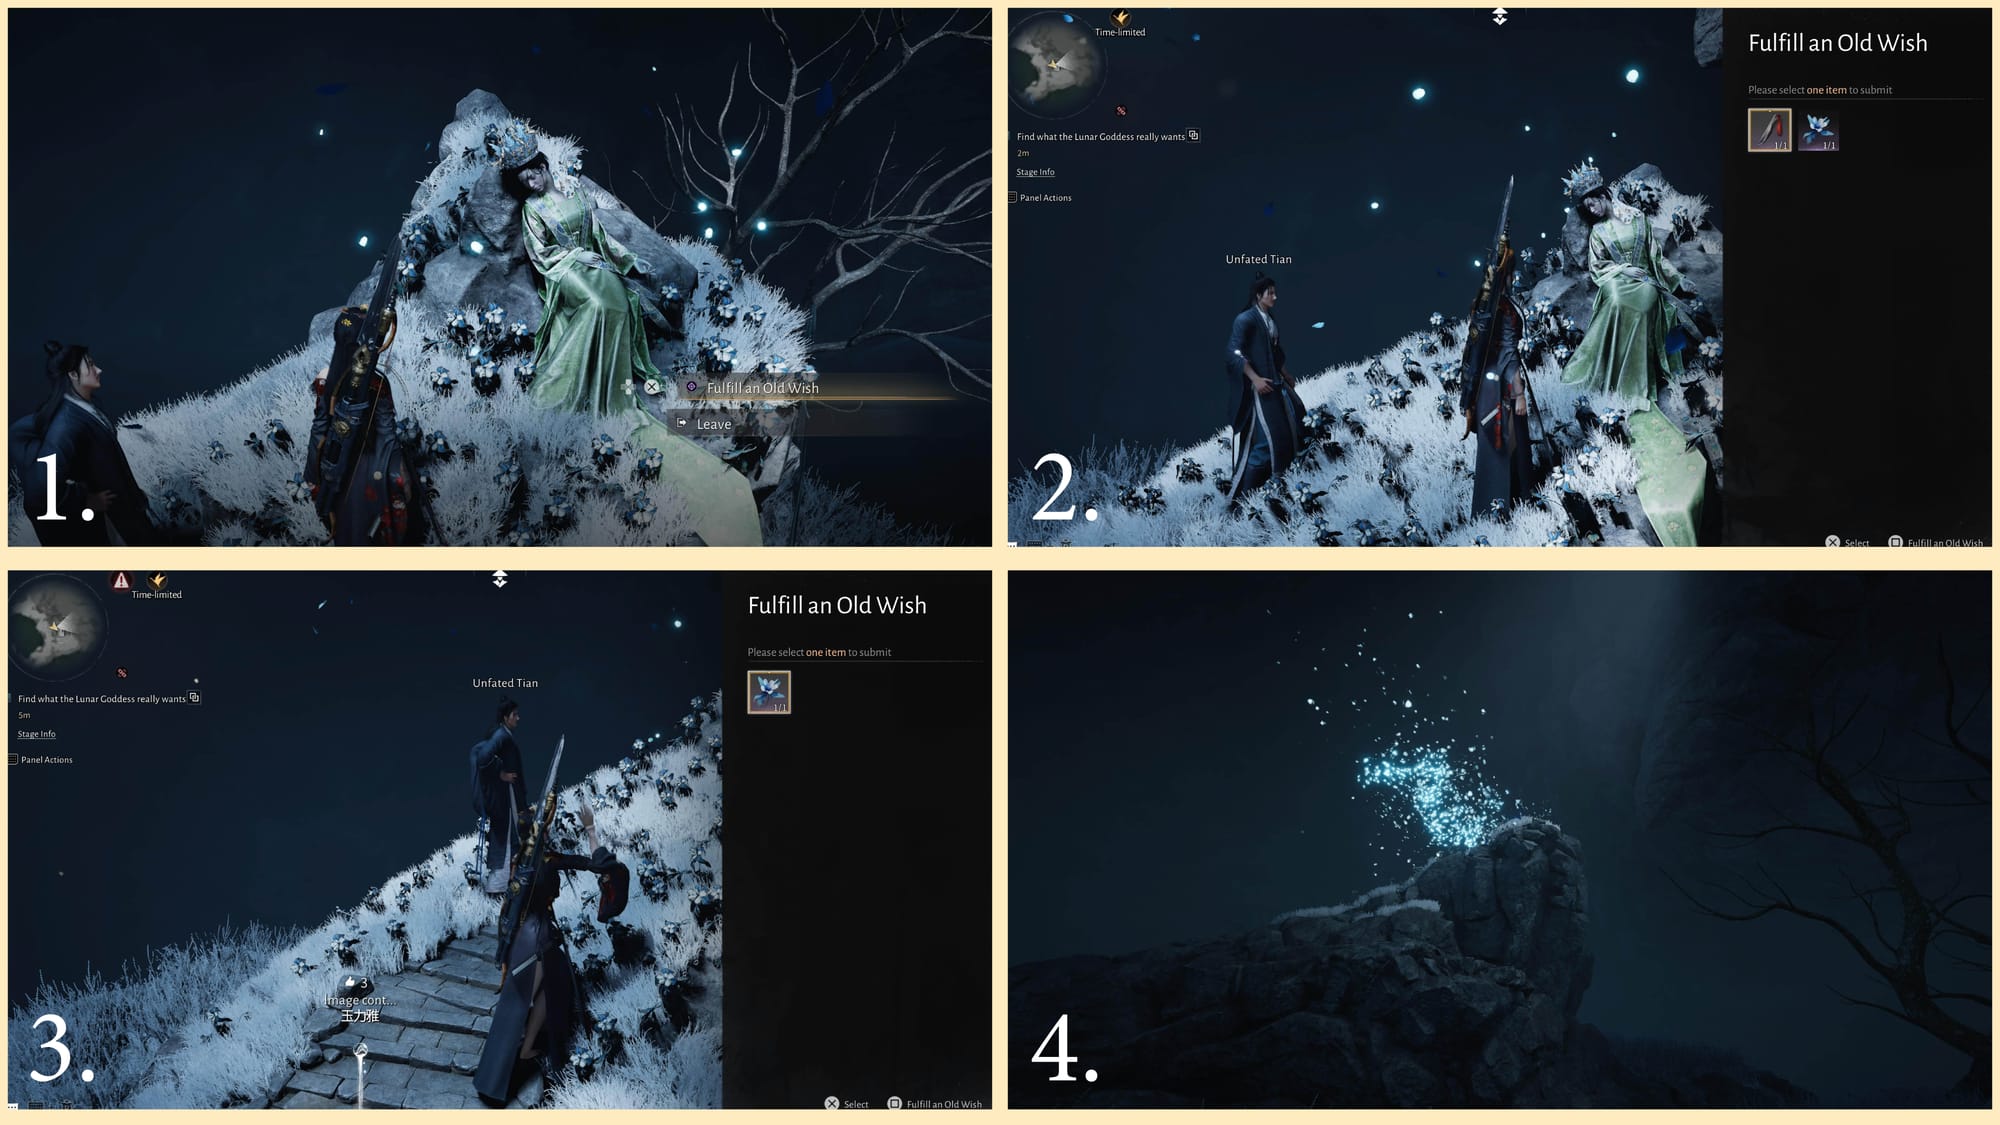
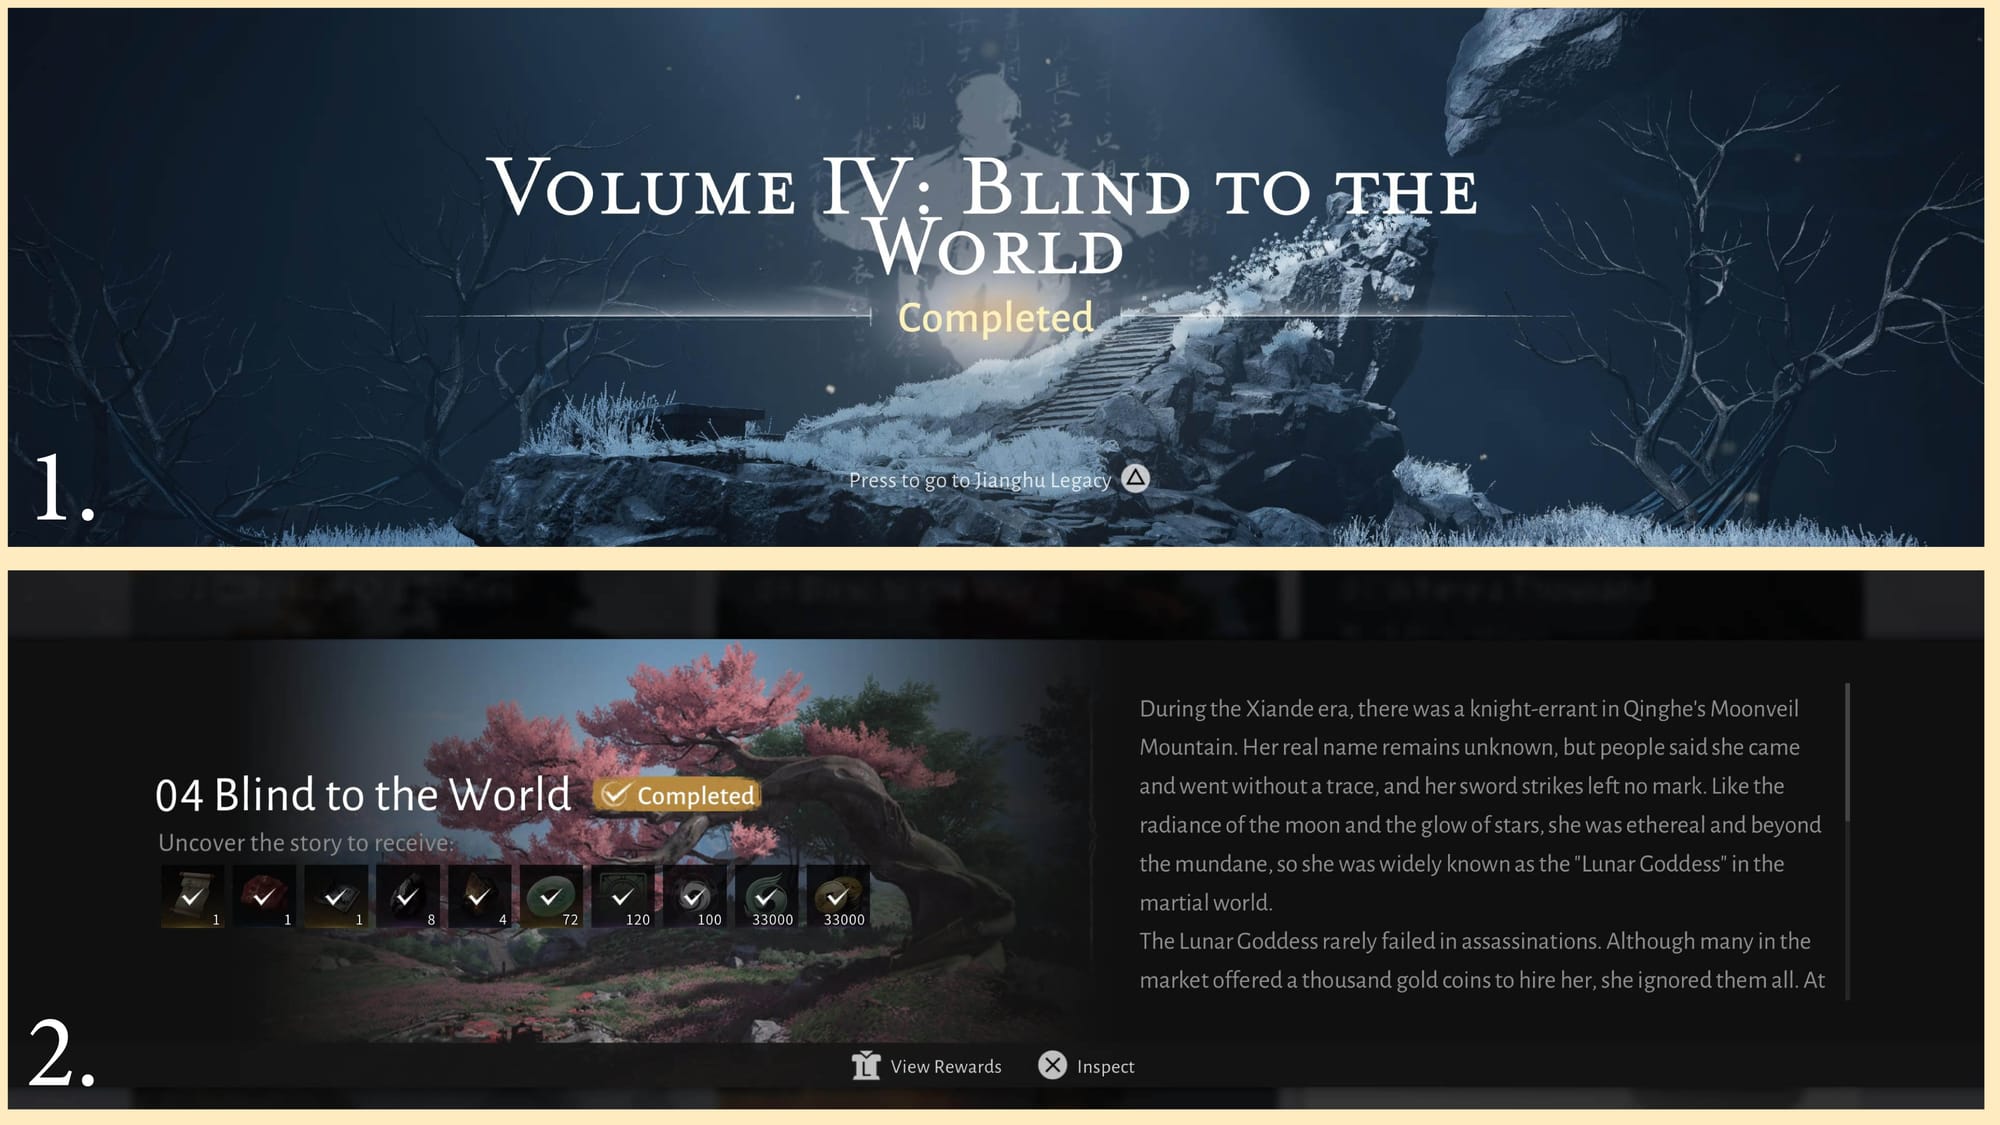
The Lunar Goddess will then evaporate into blue petals. This will complete the quest. You will receive the following items upon completion:
- Blinding Mist - Mystic Skill
- Li Zhenzhen Dusty Wedding Gown
- 1 Medicinal Tales
- 8 Ebon Iron
- 4 Oscillating Jade
- 72 Echo Jade
- 120 Qinghe Exploration Points
- 100 Enlightenment Points
- 33,000 Character EXP
- 33,000 Coin
If you enjoyed this walkthrough, make sure to subscribe and follow along for more Where Winds Meet reviews, guides, and achievement hunts!